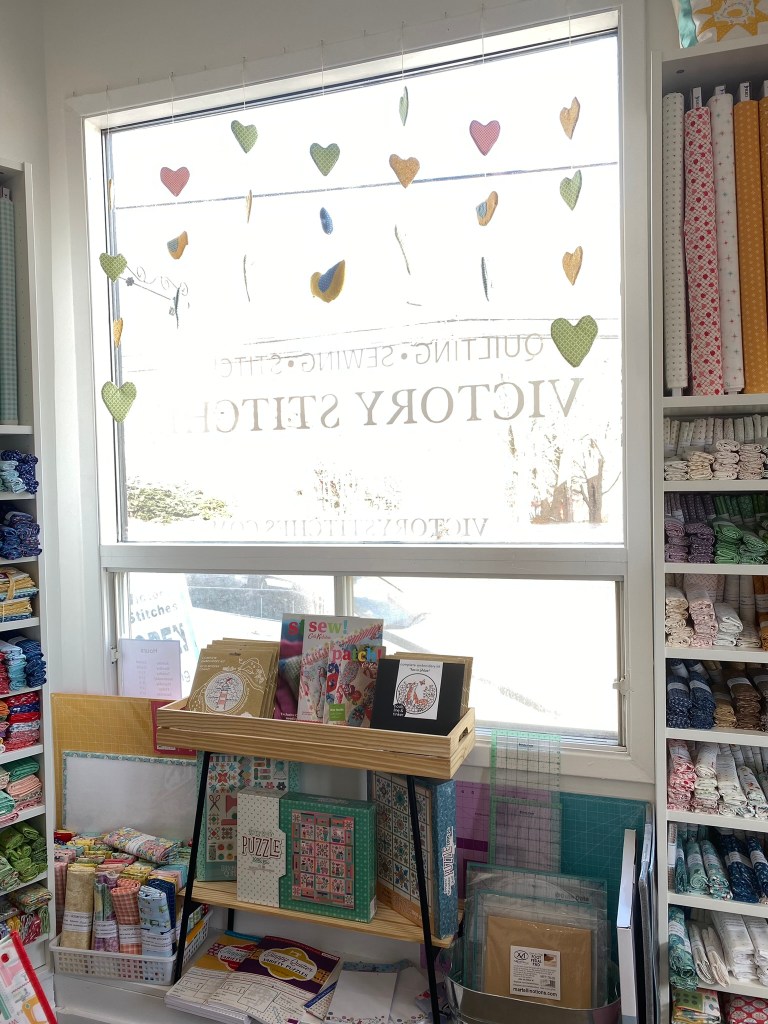
Here is how to make the cheery window mobiles I have at the shop. They are simple and cute as heck!

First collect materials:
Shapes: Take easy shapes from colouring books, quilt books, online etc. Do not make them complicated but stick to hearts, birds, owls, simple bunny outlines etc. Get the picture to the size you want and cut out or make a template.
Fabric of your choosing
Interfacing such as foam, fleece or batting. If using batting double it up for better structure.
Trace the shape onto the foam/batting etc and cut out.
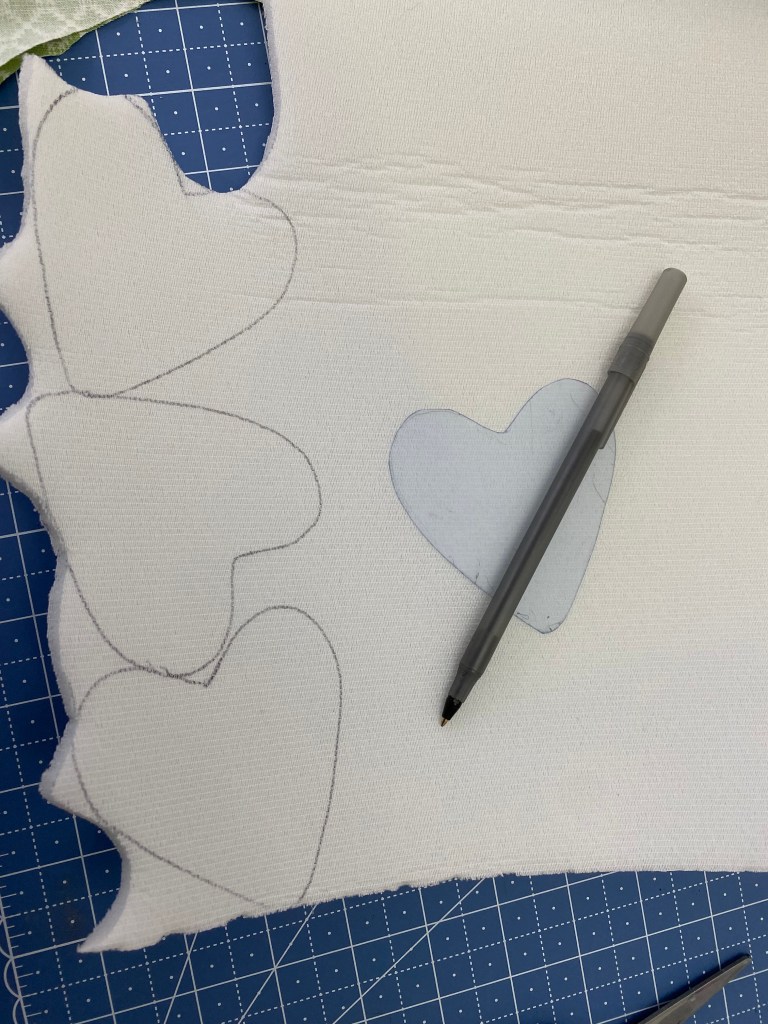
For the fabric: for simple shapes like hearts trace one side only and use a large enough scrap for the opposite side or fold it like shown here. For directional shapes like birds, trace two (one per side) by flipping the template before tracing. If need to add wings etc. do it before going on to the next step. Leave some room between the shapes

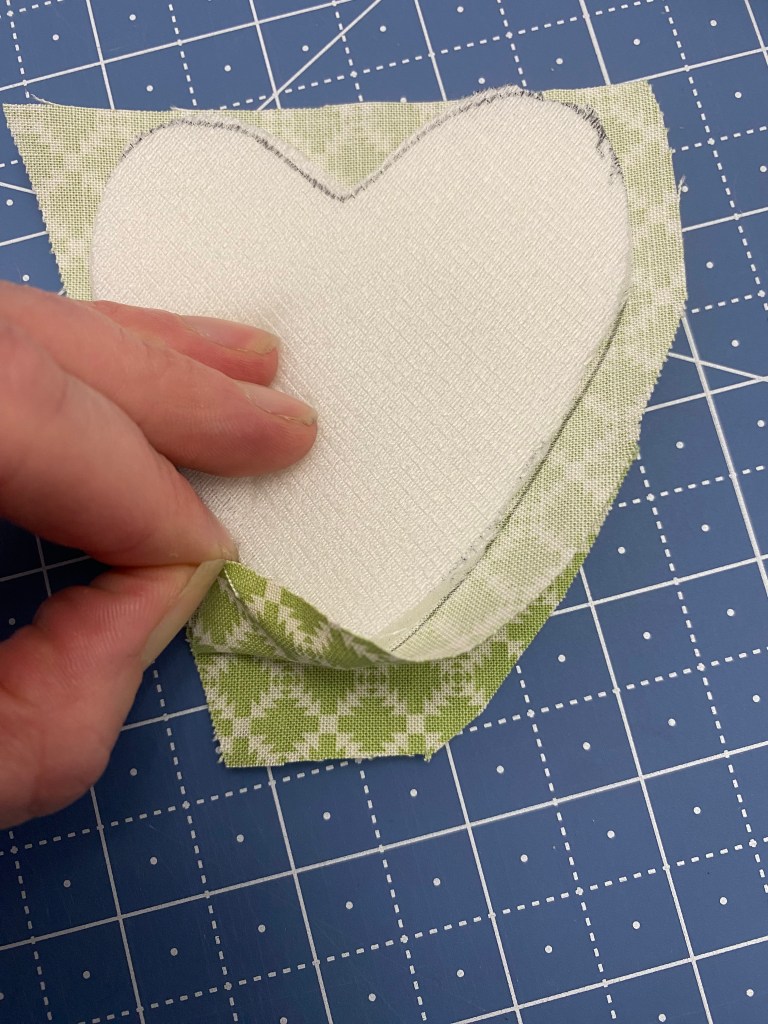
Line it all up as follows: Bottom fabric with traced shape good side up if directional like a bird or just a plain or folded piece as shown in the picture. Place fabric with traced shape good side down. Make sure traced shapes line up if they have extras like wings etc. Place foam in the traced lines. If the foam is fusible, you can iron set it onto one of the fabric traced shapes to make it easier. If not use a glue stick to stick it in place.
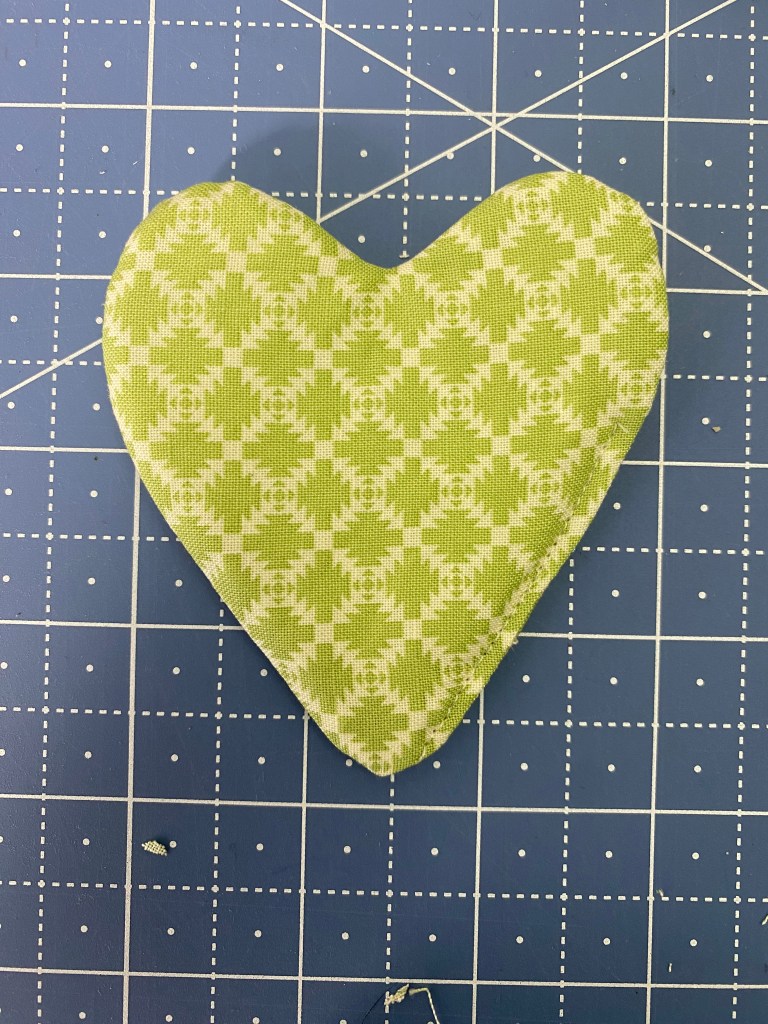
Sew around on the traced lines, leave a gap for turning, turn right side out, make it look pretty, iron and and stitch or close stitch by machine closed.
Use string to connect the shapes and hang from a small nail or tack from the window