Liberty Of London Fabric

New Season Begins!

Its still winter, however the snow is finally melting and the hut is accessible! I moved in some stock today, cleaned a few shelves and had more shelves delivered by Ikea today.

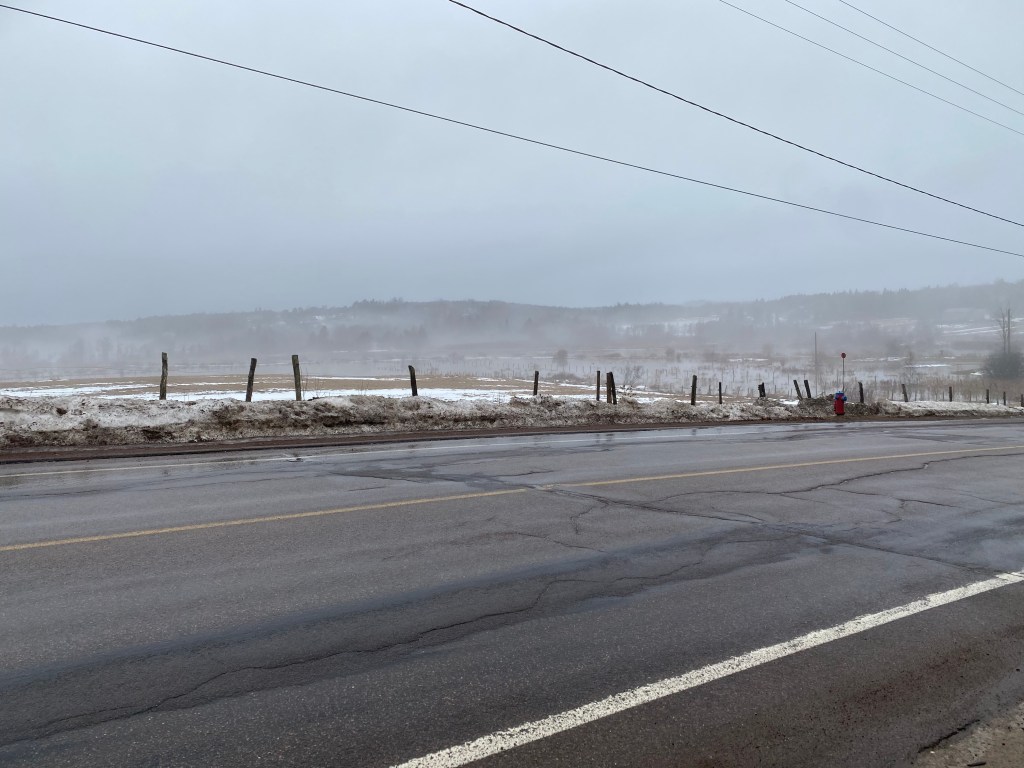
Above: Snow is melting!

This year will be a bit different. As we negotiate our way around a new world with a hostile neighbour to the south, I will be making changes. Some American brands and names will be disappearing from the hut, Poppie Cotton and most Riley Blake are leaving exceptions are Beverly McCullough & Minki Kim. Notions by Riley Blake like Vintage Trim, rulers, pins will also disappear. The notions are all made in China, the prices will be rising and its time to find new things!

Above: Liberty Of London’s new collection Flower Shop!

You will be seeing more UK brands, Liberty of London of course and Makower. I’m on the hunt for more non-American brands but it is honestly not easy. I don’t think I realized how dependant the quilting world is on the USA until now. It has felt like the world of stitching, making, has turned into a rut of buy and stash. It seems gone are the days of using quality materials to make fun, cherished projects. Time for a change!

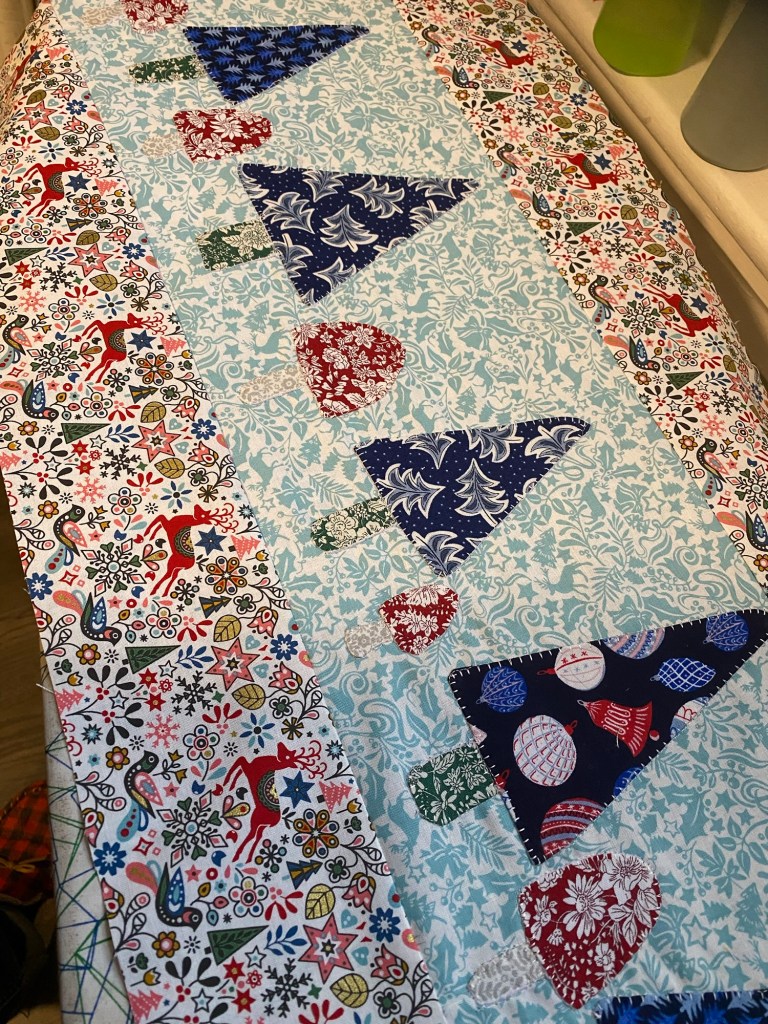
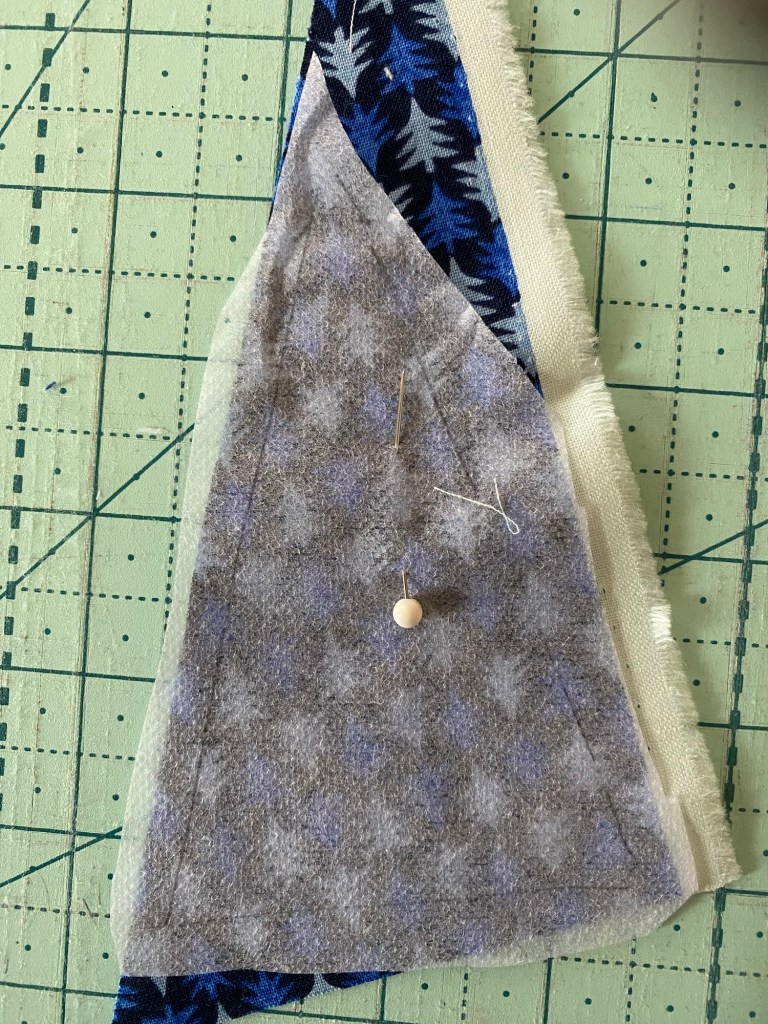
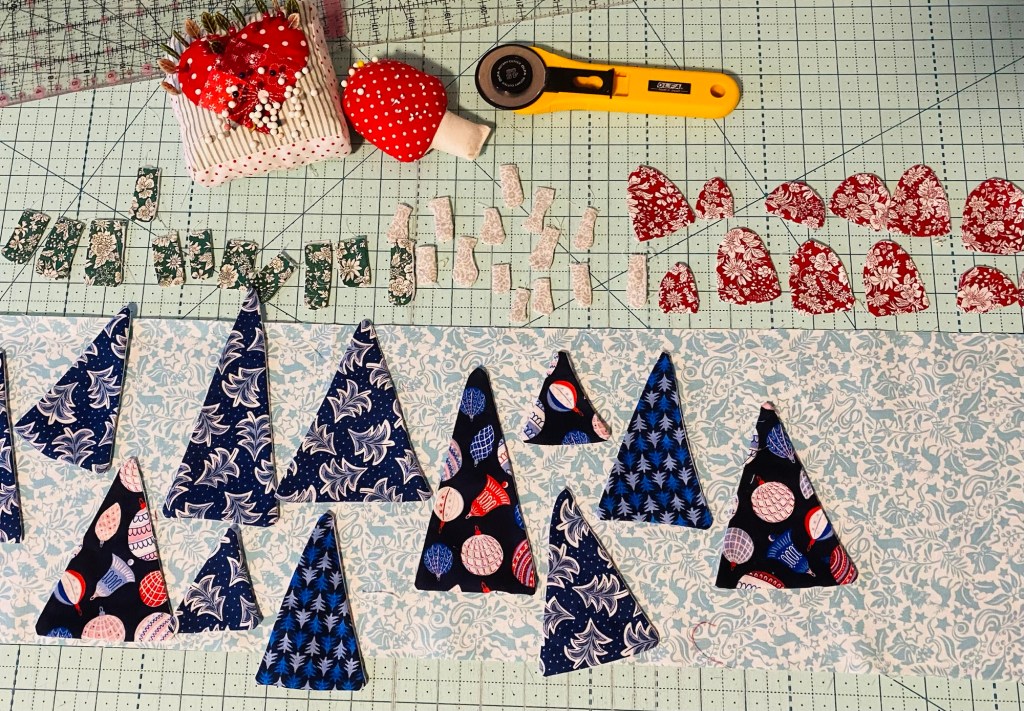
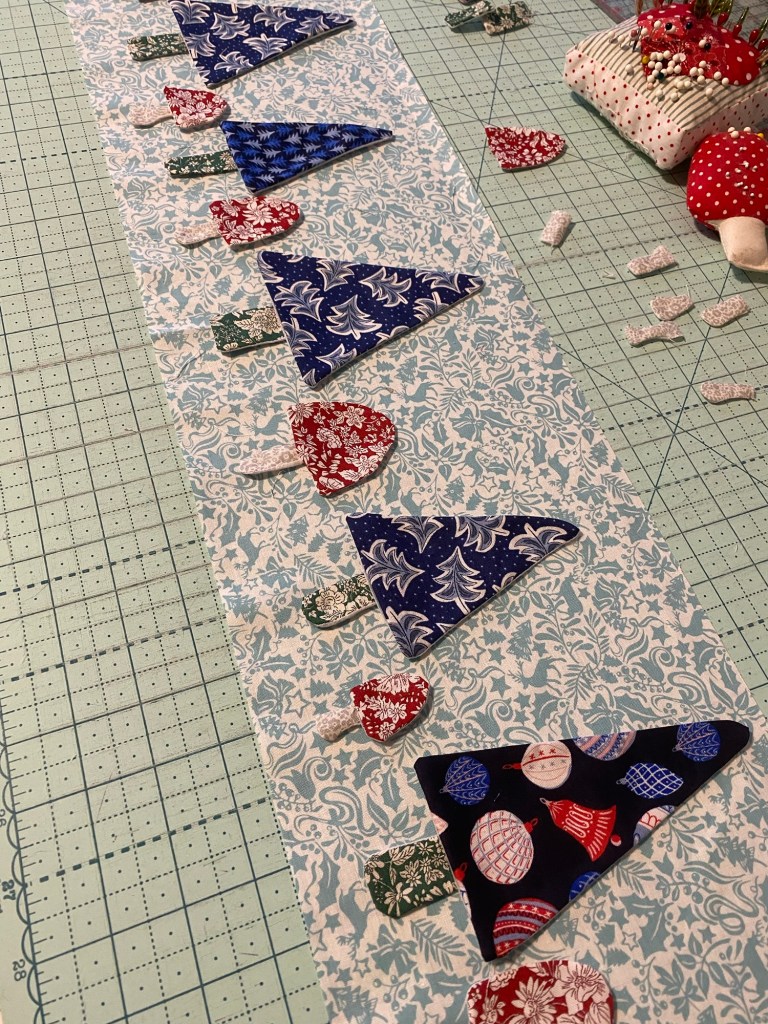
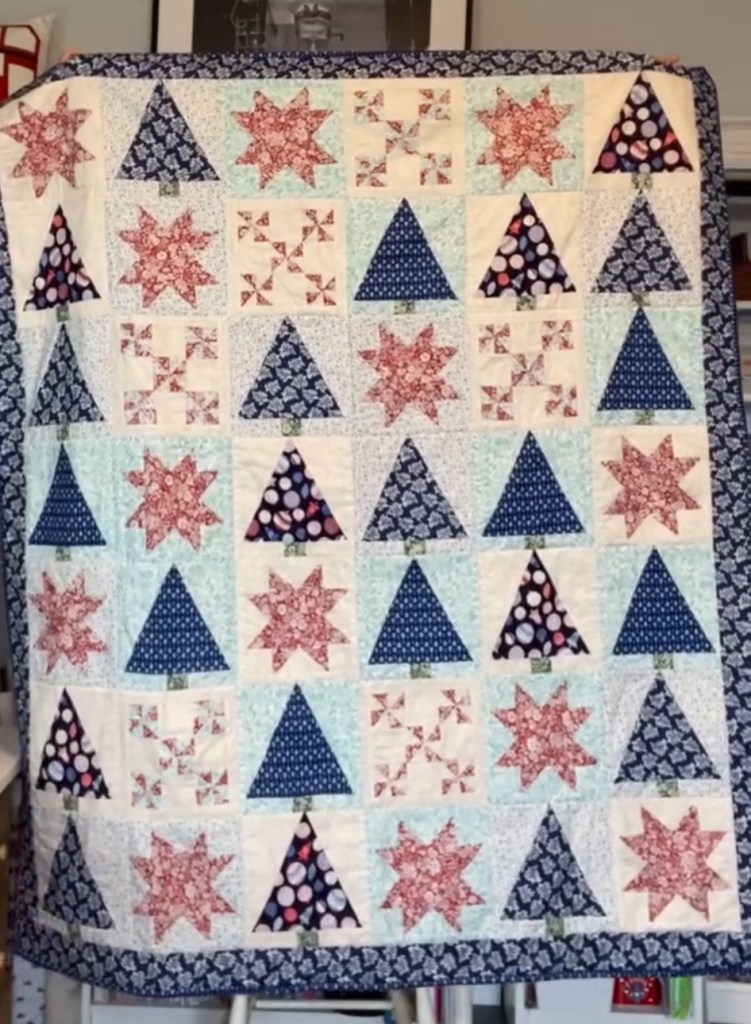
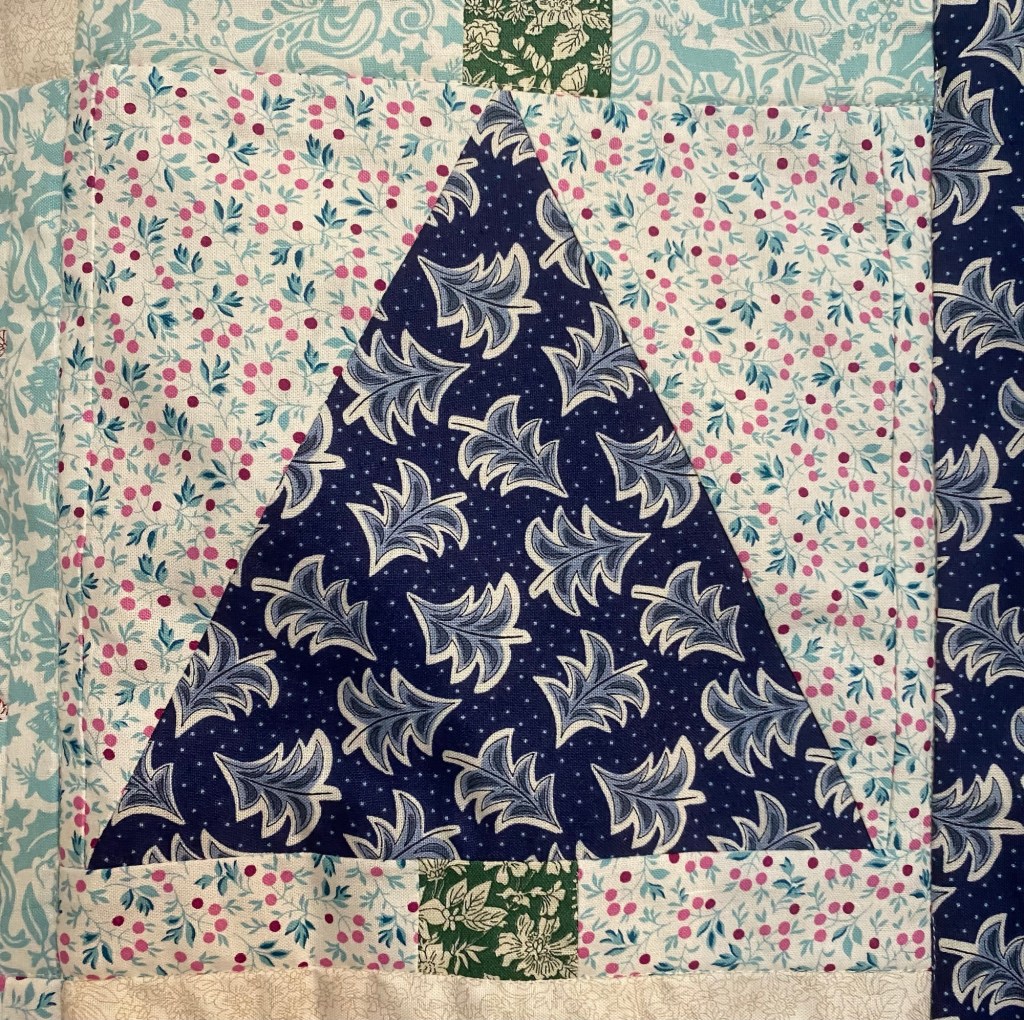
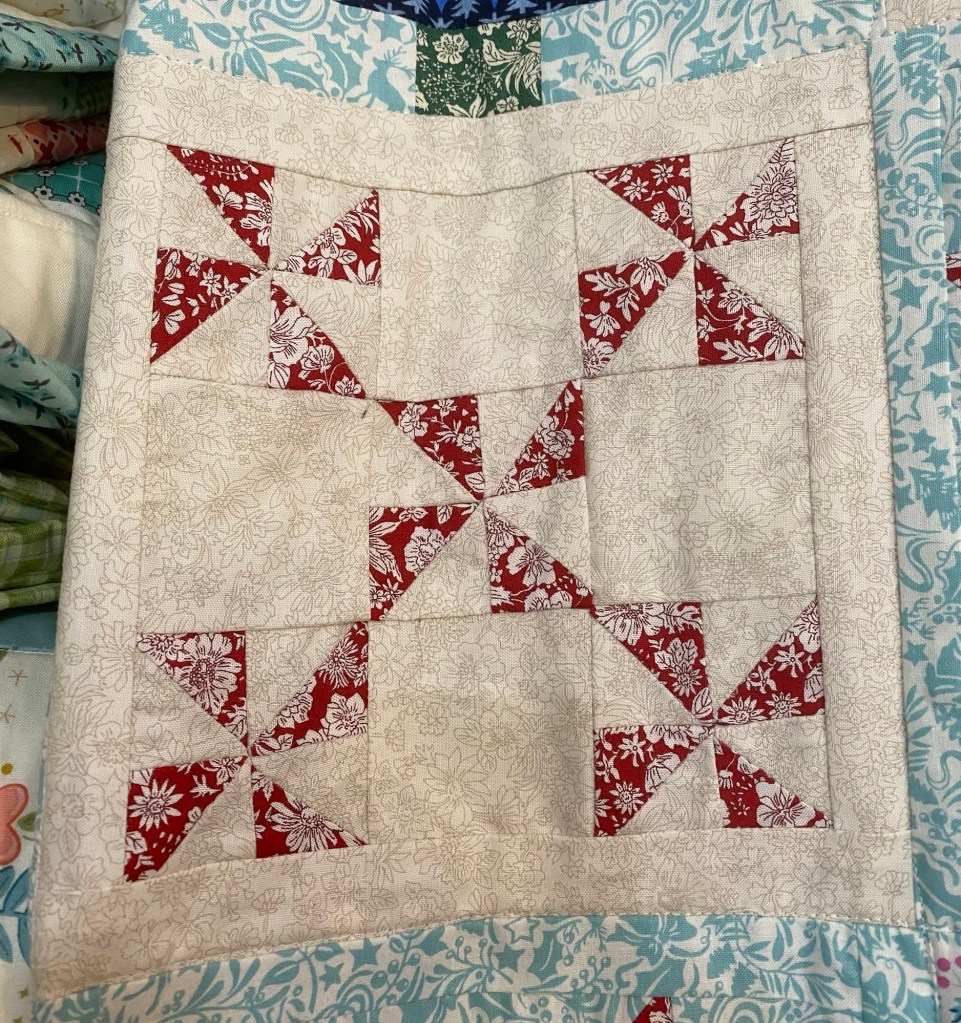
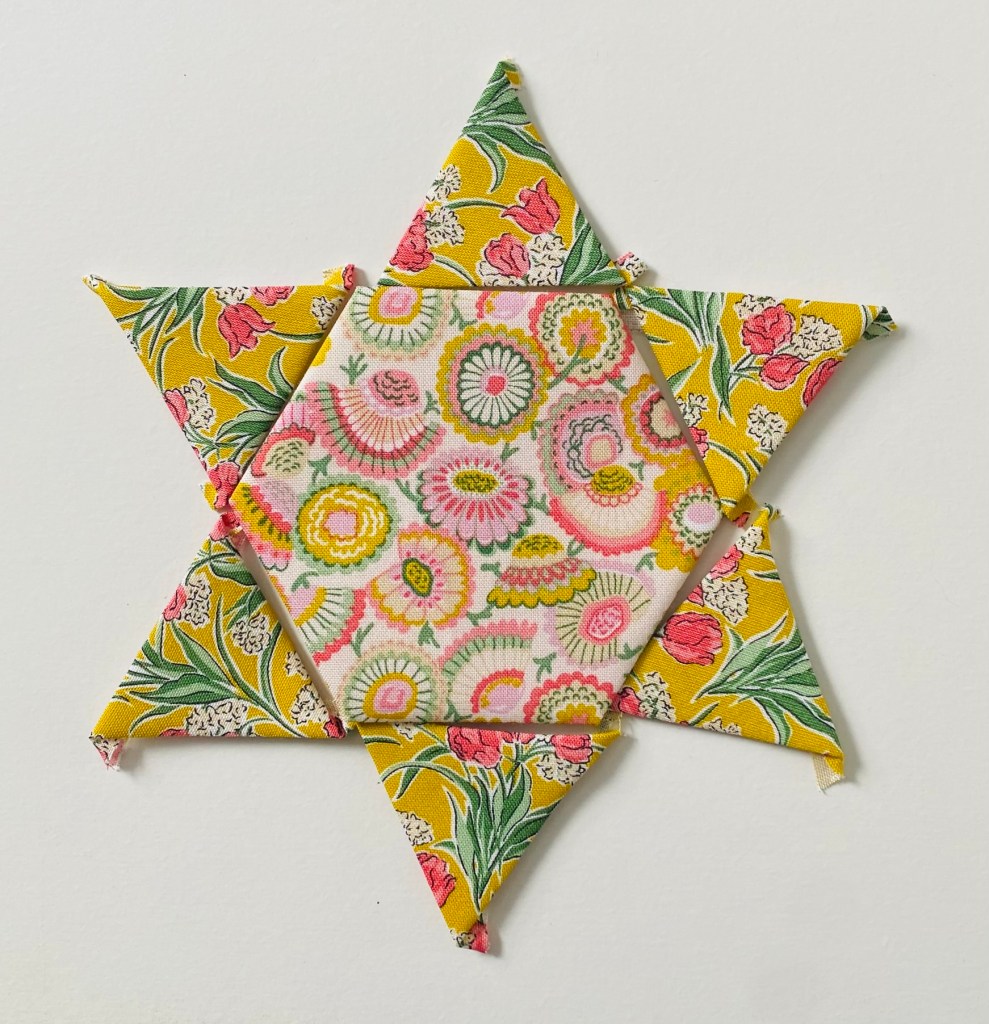
There’s new kits for this year, this ones in works and should be ready for spring! Lots of happy Liberty flower prints just in time for flowers to start blooming!

Till next time, Elbows up!

Christmas · Liberty Of London Fabric · Quilting / Sewing Tutorials · Sewing Projects · Table Runners · Uncategorized

Tree Runner

I am not a Christmas person, but I do love to decorate for winter. It adds personality to this old Victorian home during the bleak season. I’m obsessed with trees & mushrooms as they can stay out until Feb.

This runner was made with the liberty of London lines Merry & Bright and Woodland Christmas. There is no set pattern but here’s what I did, get creative and have fun.

Runner back ground was a 9 inch cut from a half yard piece of fabric, so it’s about 20 inch long once finished

To make the trees and mushrooms: Take some lightweight interfacing and draw triangles in various sizes, trunks, mushroom bottoms and tops making sure there’s around 1 inch between shapes. Cut the shapes leaving 1/2 inch around the drawn lines so you can sew and trim. Place on fabric with the fabric right side up,you will “trap” the fabric in the interfacing. For the trees and mushroom tops sew around the whole shape. Trim to 1/8 around the shape, make a slit in the centre of the interfacing and turn the shape right sides out. For the trunks and mushroom stems, you can leave the top open and turn through that. The tops will be tucked under the trees and mushroom tops to hide them.

Once they are turned tight side out, iron.

Lay out your back piece and place the trees and mushrooms where you want and pin in place.

Sew them by machine or hand to the background. I like to use the blanket stitch in my machine.

Once you have sewn them all down, add a boarder and finish as desired.

For appliqué shapes I like to draw the shapes on card stock so I can keep the templates. Mushroom and trees are easy as there’s no set shape. I have videos on my YouTube channel on how to make & sew the appliqués and how I finish runners

Sew Fundy YouTube

Christmas · Liberty Of London Fabric · Quilt Block · Quilt Projects · Quilting / Sewing Tutorials

Winter Wonderland Quilt

I have been wanting to play with my winter Liberty prints for a long time, but I couldn’t come up with design I liked. While going through the Liberty website for inspiration, I found some patterns! Free ones! This quilt is three blocks, the tree is from one quilt, the star is one from another and the last block is.. scraps from making the stars!

Here are the links to the free downloadable patterns:

Tree: https://www.libertylondon.com/uk/features/craft/2020-festive-quilt-project.html

Use the templates & instructions for the simple tree block. You can add the house & other tree block too!

Star: https://www.libertylondon.com/uk/features/craft/merry-and-bright-liberty-quilt-project.html

Use the star block instructions. The pattern also has stars that are in a snowball that can also be used.

Scrap Snowflake Blocks:

Here is my YouTube video on how to sew scrap blocks when making flying geese for the stars:

I made 6 star blocks and used the scraps to make these fun snowflake blocks. Make 30 pinwheel blocks from your star scraps. Trim to 3 inches. To make the block, sew a patchwork of 5 pinwheels and (4) 3 inch squares of a background print per block.

All blocks I added a 2 inch boarder around and ended up trimming to 8 inches. It would be 9 or 8.5 but I mess one one up and just went with 8 inch

I made 42 blocks all together. The layout can be any combo of the blocks as it’s a snowy forest kinda look, feel free to add in other 8 inch blocks.. it’s your quilt, have fun!

I used 3.5 inch strips for the outer boarder.

Happy Sewing!