Christmas · Liberty Of London Fabric · Quilting / Sewing Tutorials · Sewing Projects · Table Runners · Uncategorized

Tree Runner

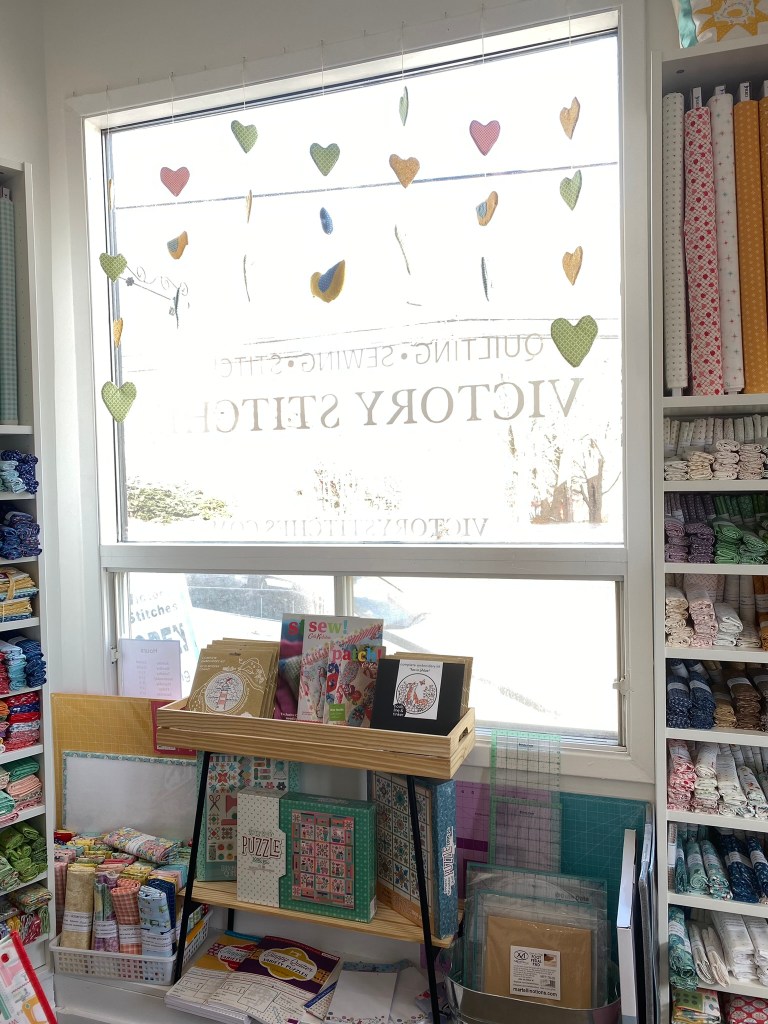
I am not a Christmas person, but I do love to decorate for winter. It adds personality to this old Victorian home during the bleak season. I’m obsessed with trees & mushrooms as they can stay out until Feb.

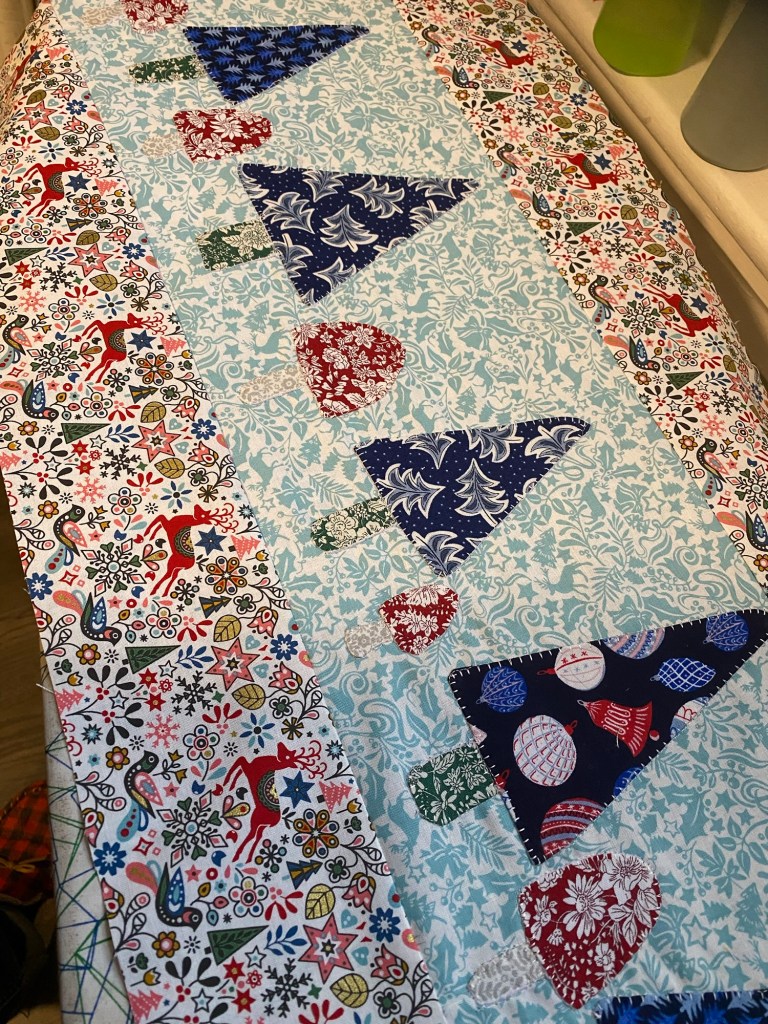
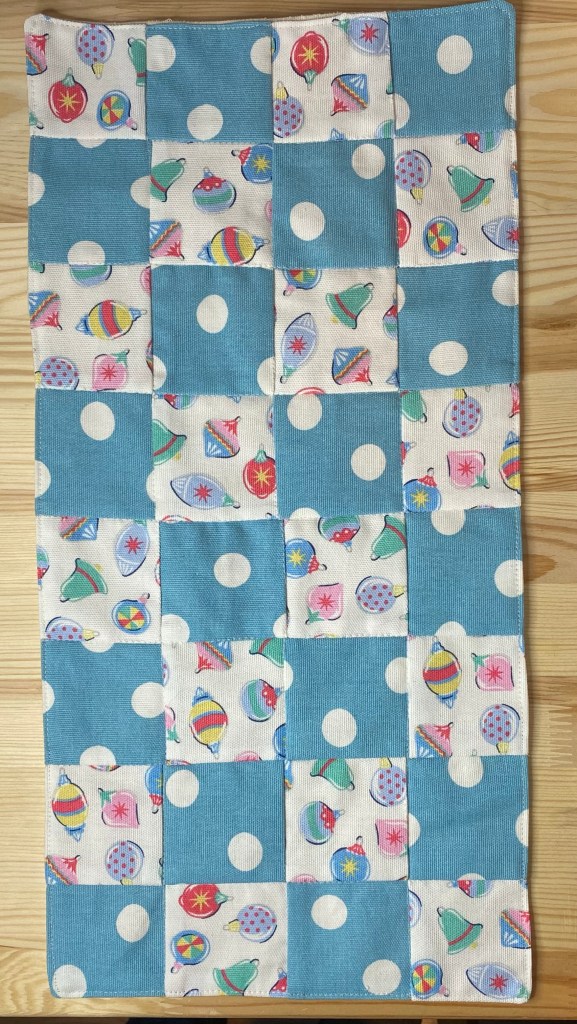
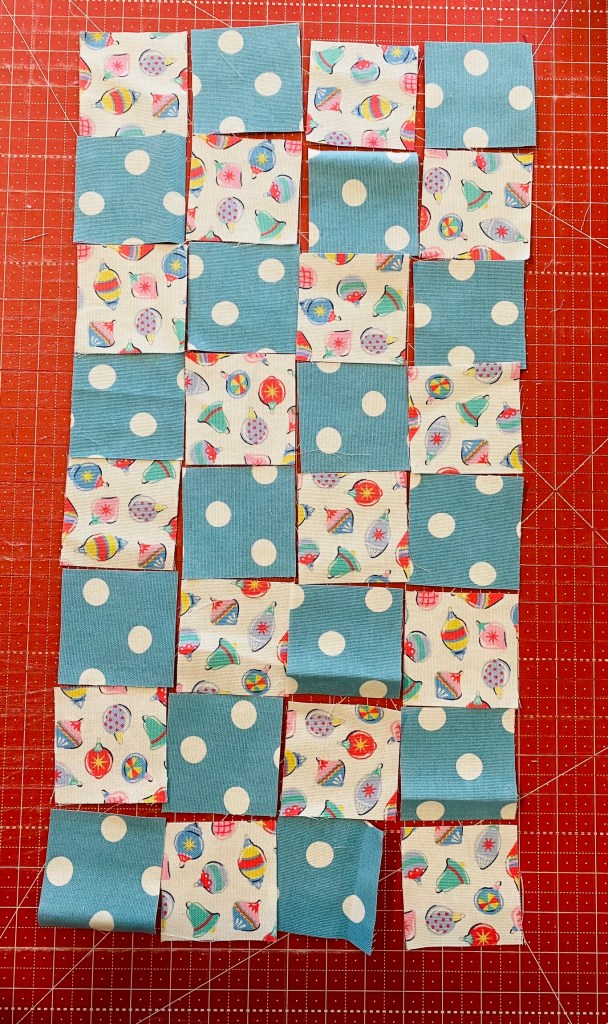
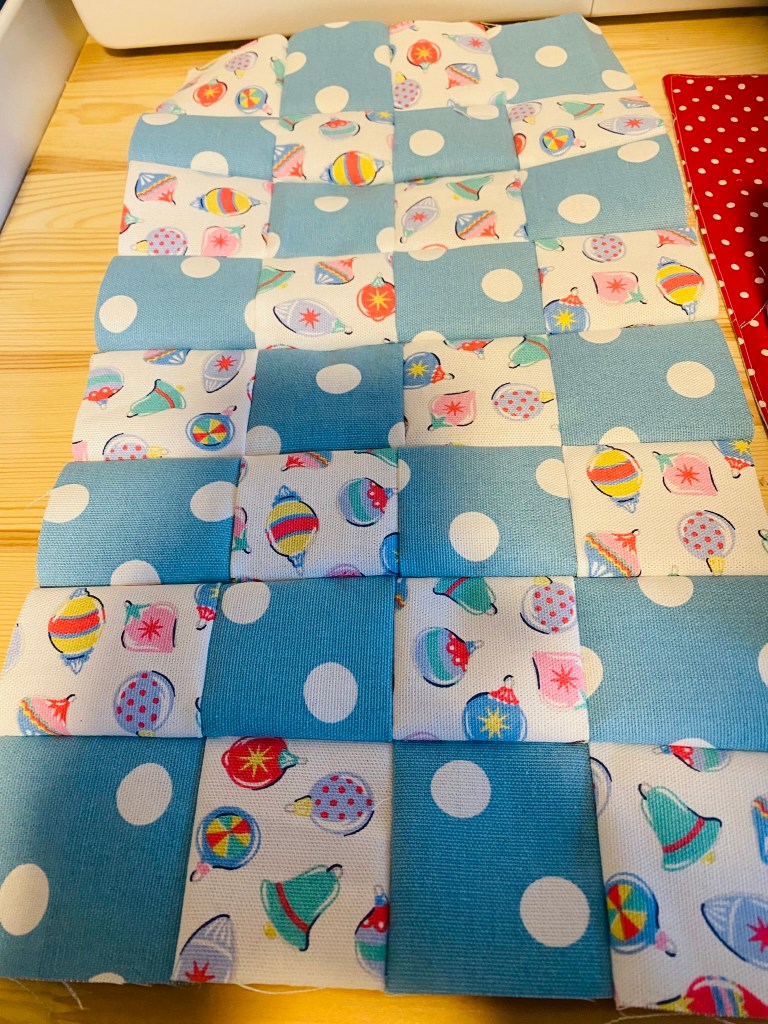
This runner was made with the liberty of London lines Merry & Bright and Woodland Christmas. There is no set pattern but here’s what I did, get creative and have fun.

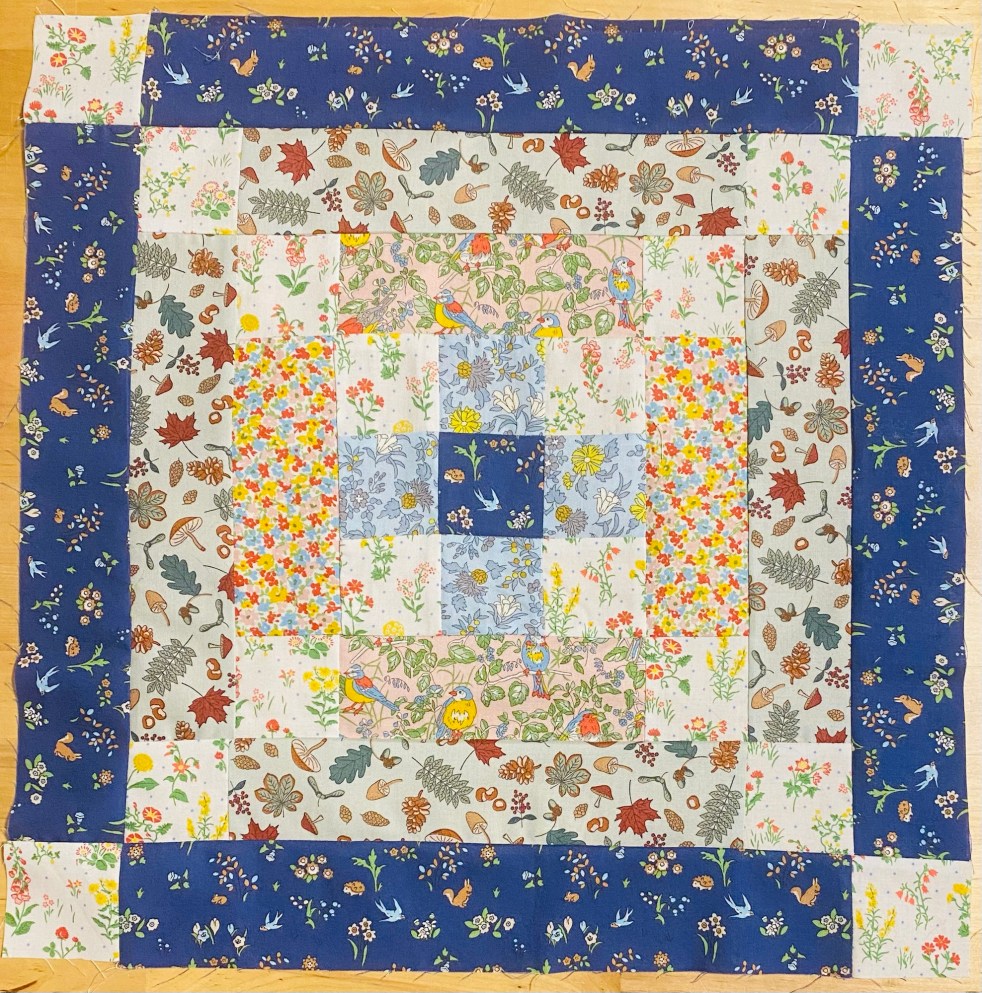
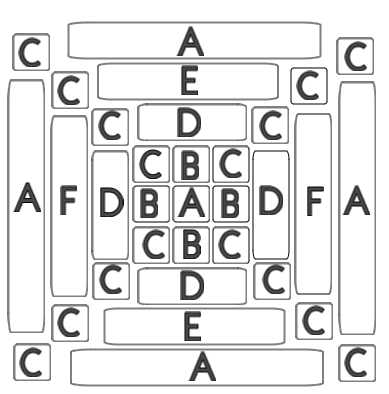
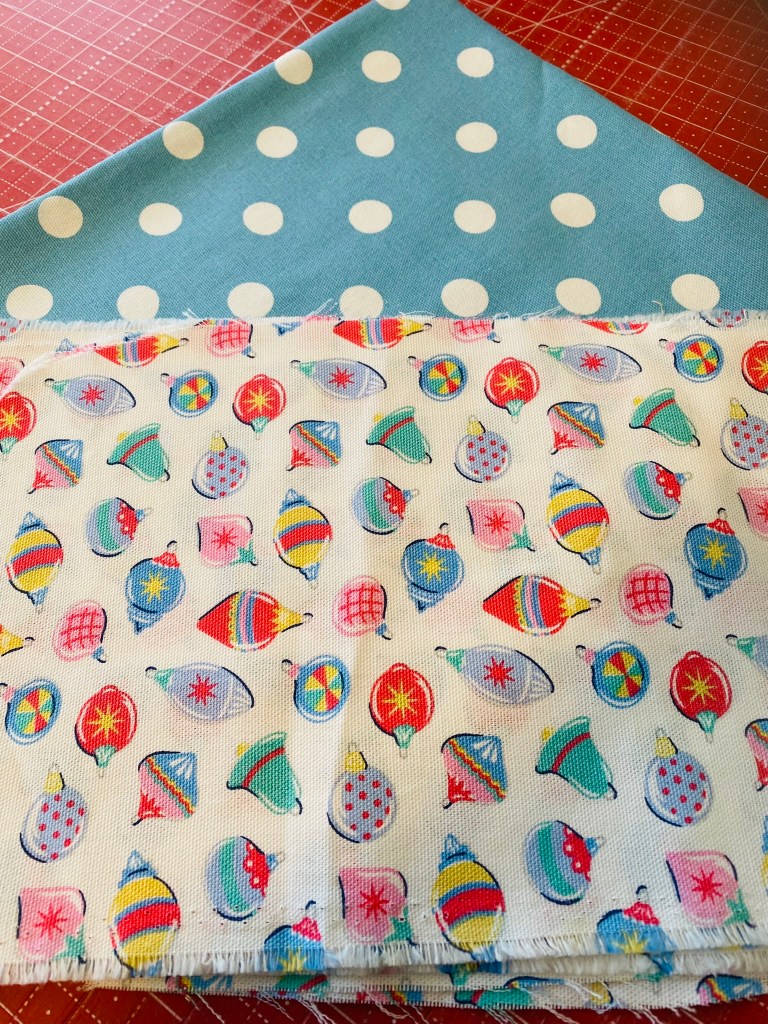
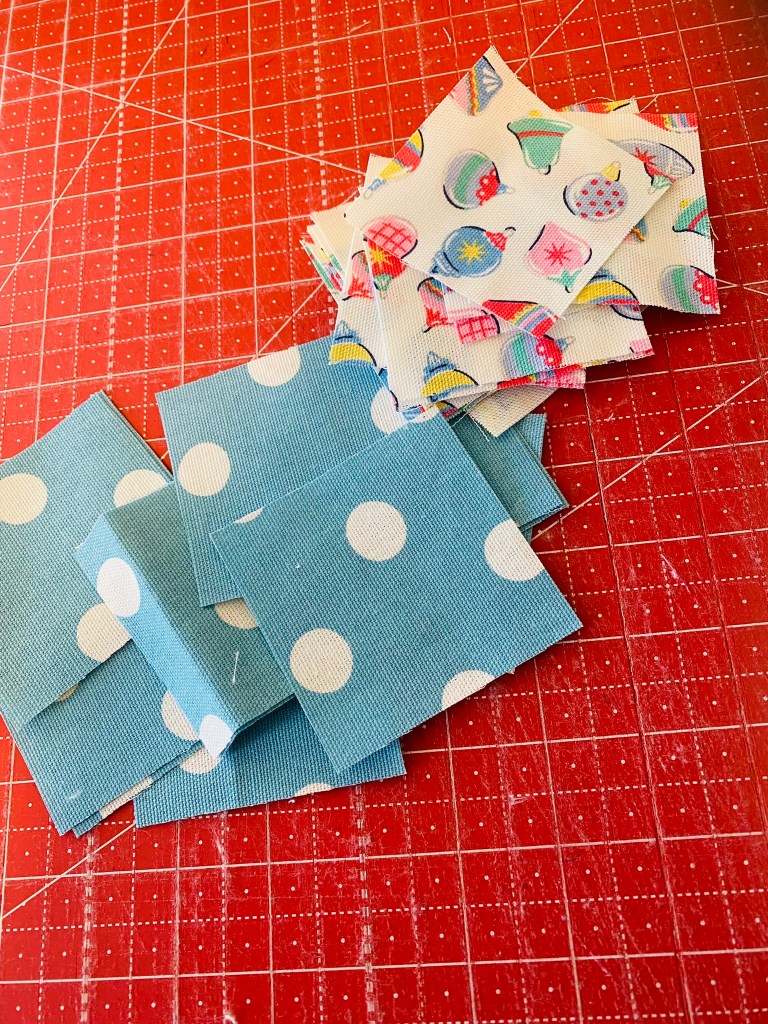
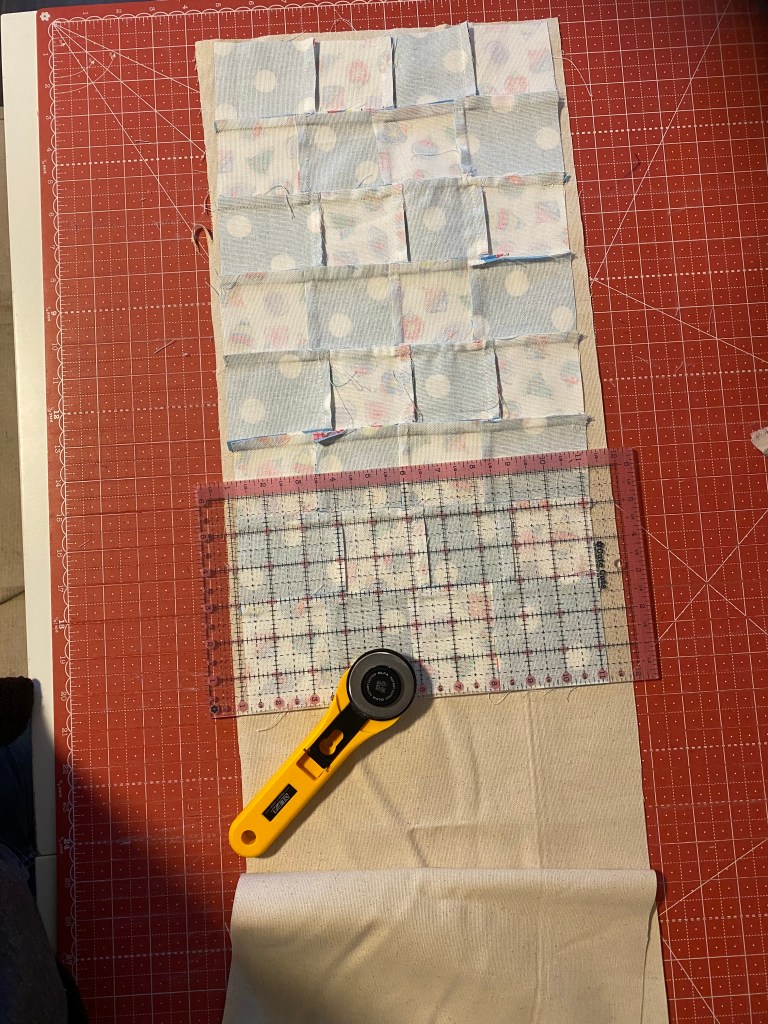
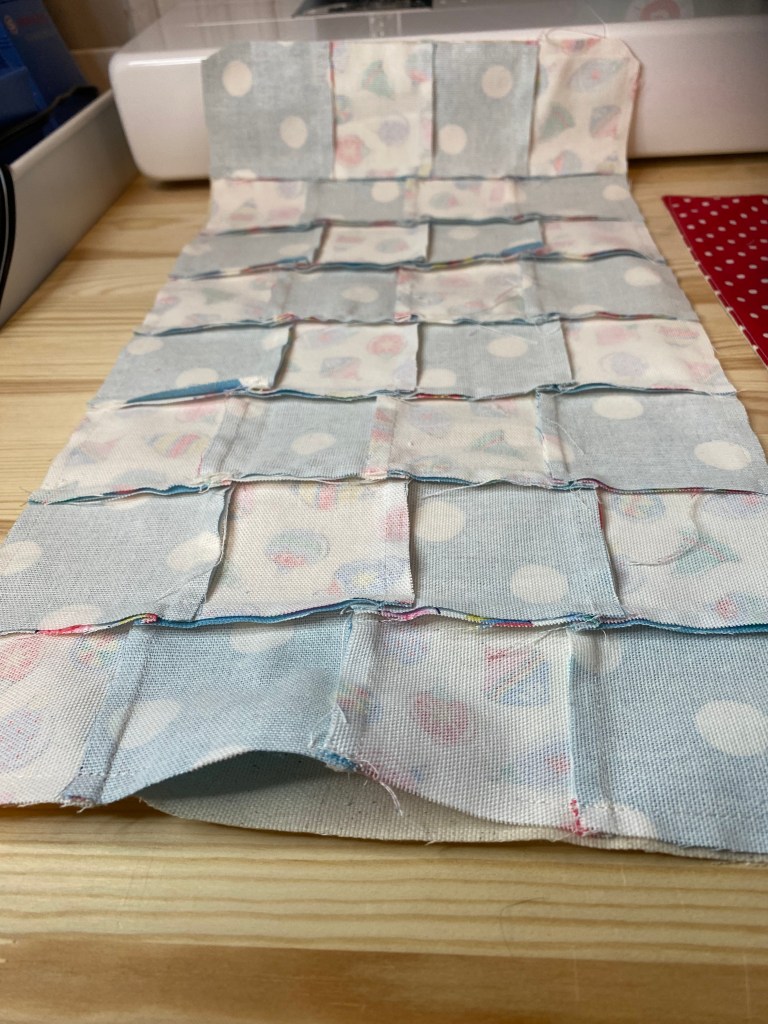
Runner back ground was a 9 inch cut from a half yard piece of fabric, so it’s about 20 inch long once finished

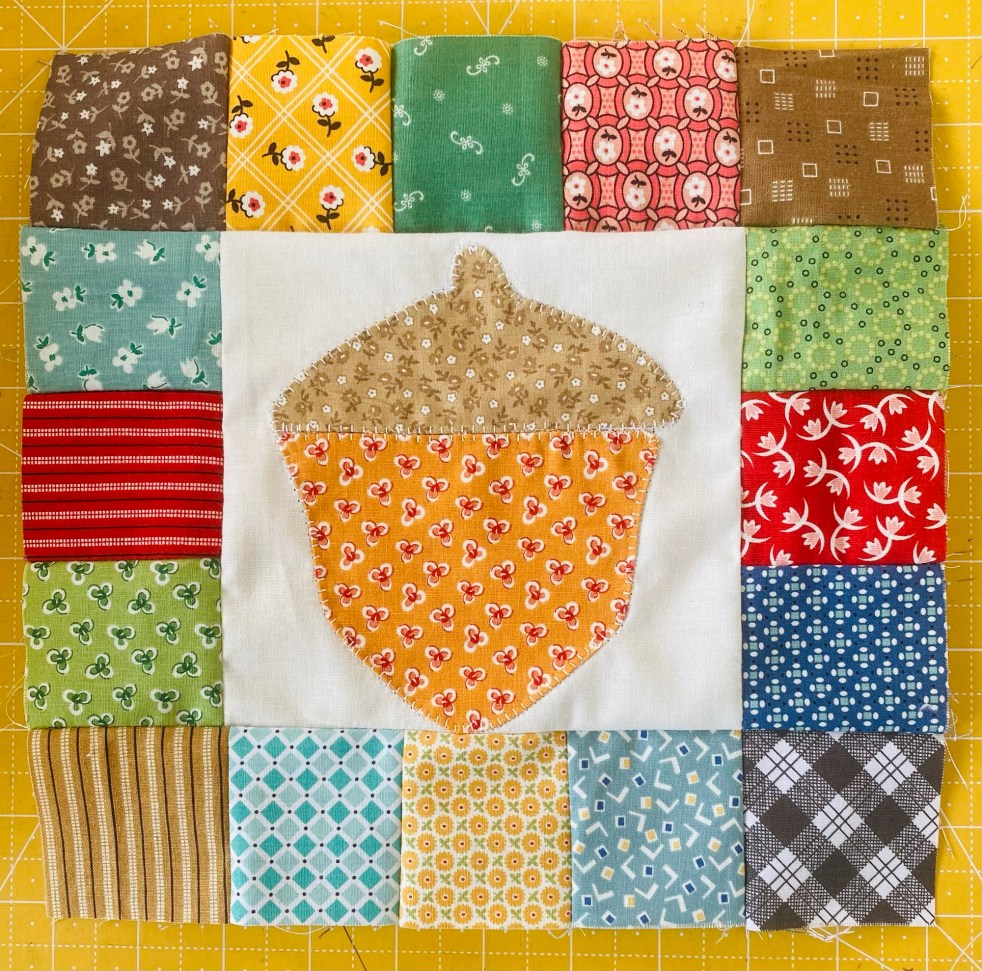
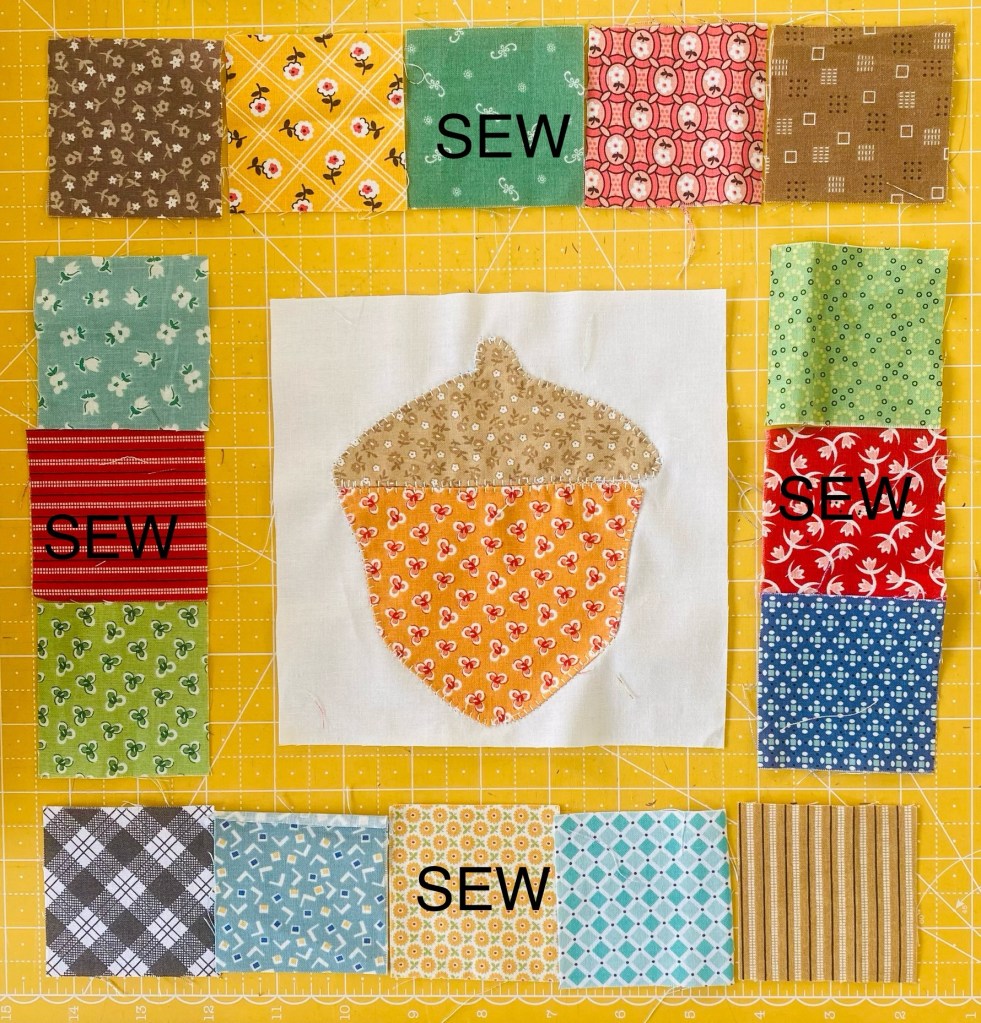
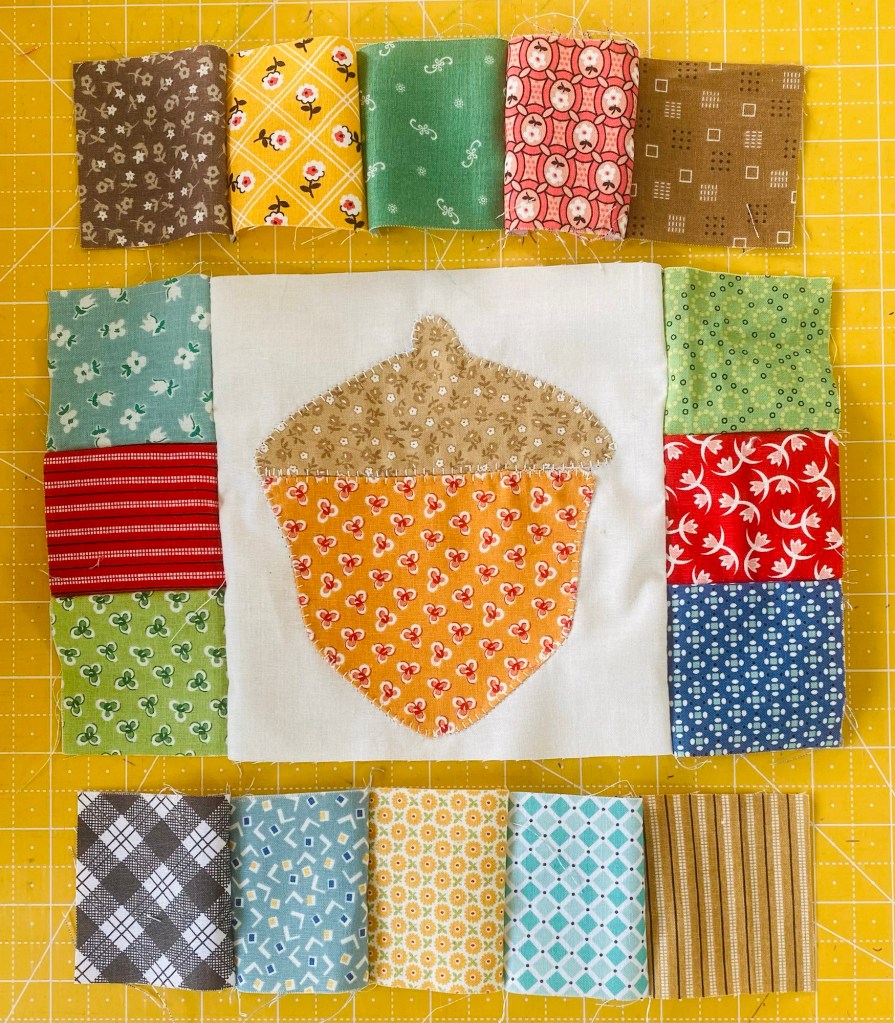
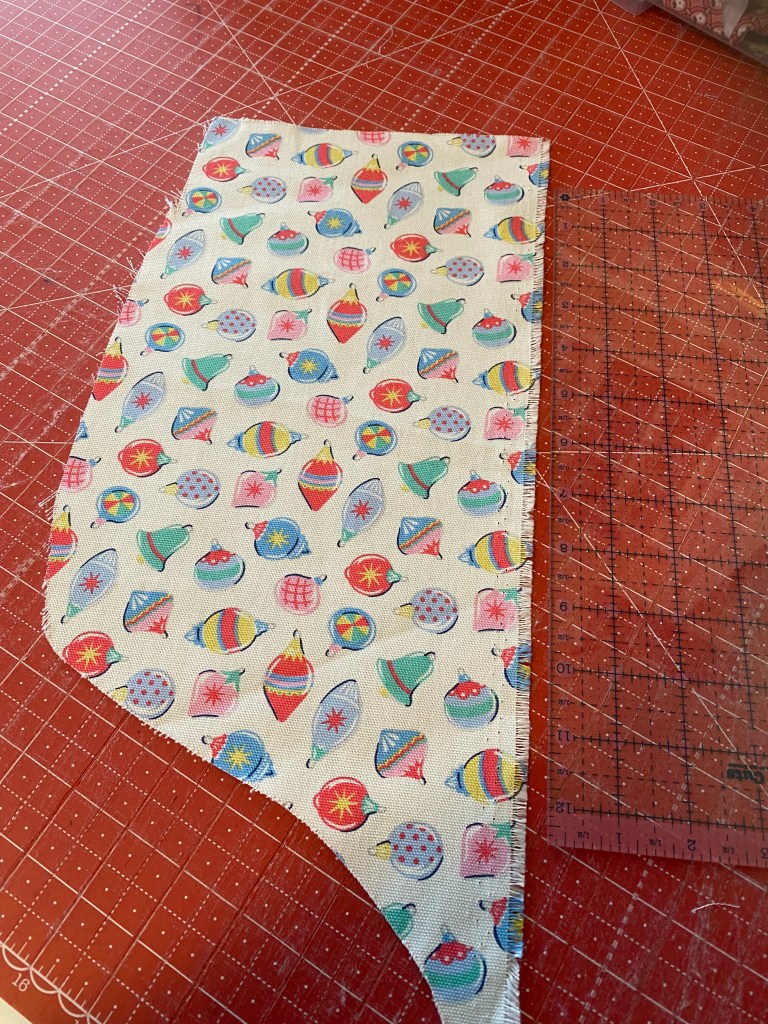
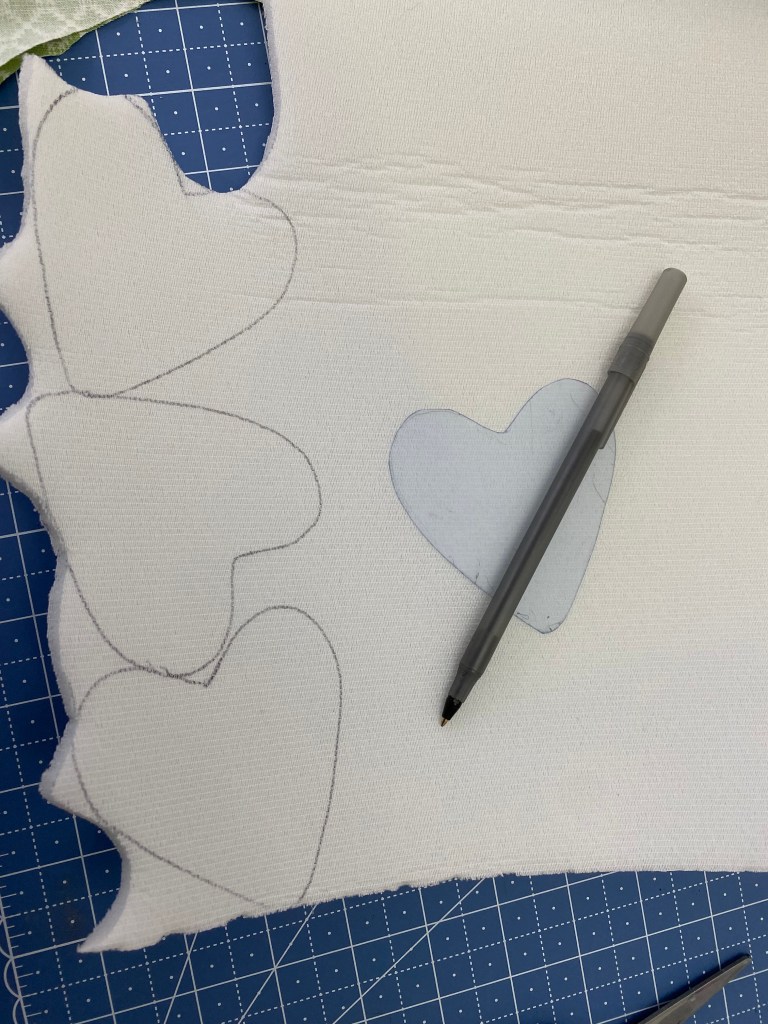
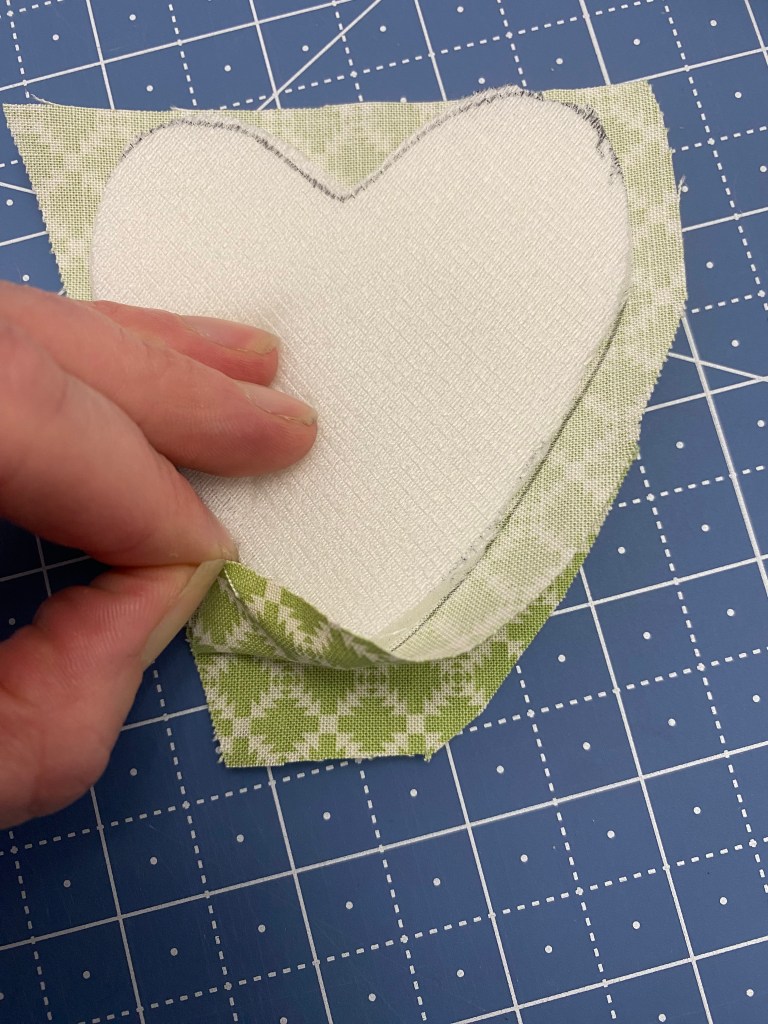
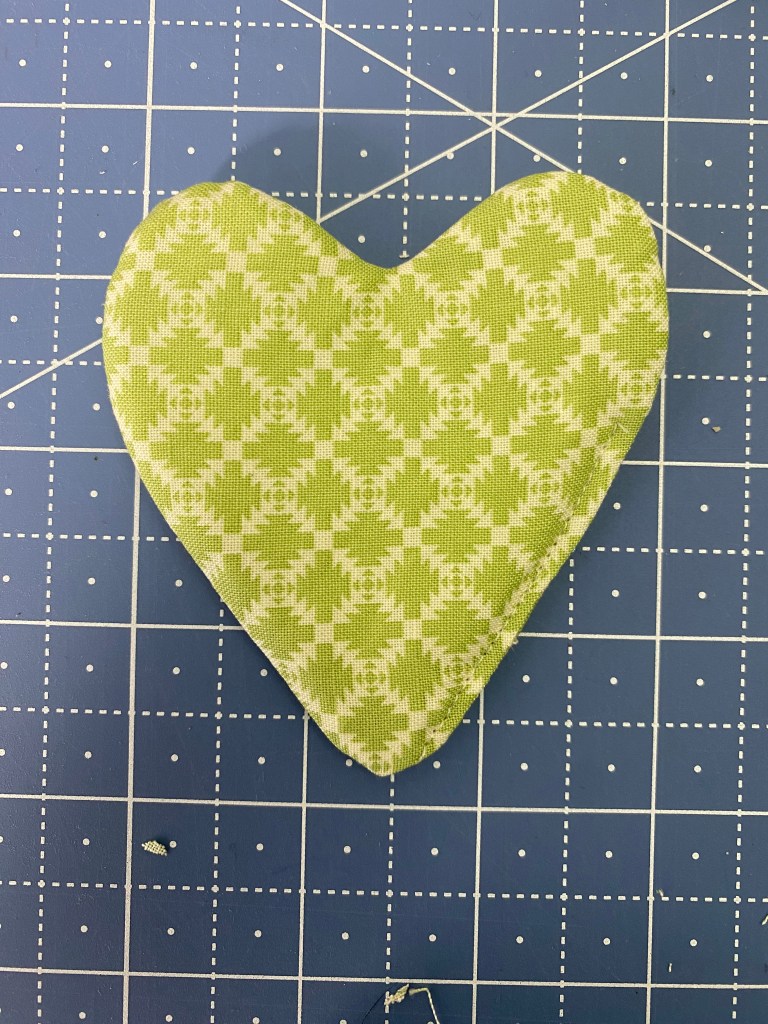
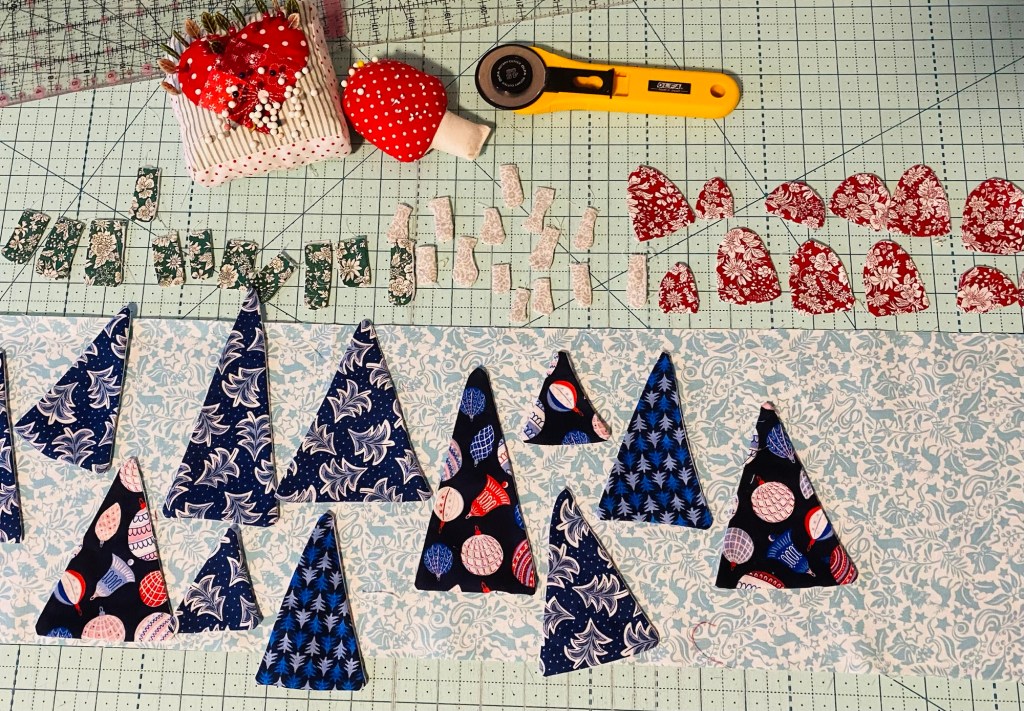
To make the trees and mushrooms: Take some lightweight interfacing and draw triangles in various sizes, trunks, mushroom bottoms and tops making sure there’s around 1 inch between shapes. Cut the shapes leaving 1/2 inch around the drawn lines so you can sew and trim. Place on fabric with the fabric right side up,you will “trap” the fabric in the interfacing. For the trees and mushroom tops sew around the whole shape. Trim to 1/8 around the shape, make a slit in the centre of the interfacing and turn the shape right sides out. For the trunks and mushroom stems, you can leave the top open and turn through that. The tops will be tucked under the trees and mushroom tops to hide them.

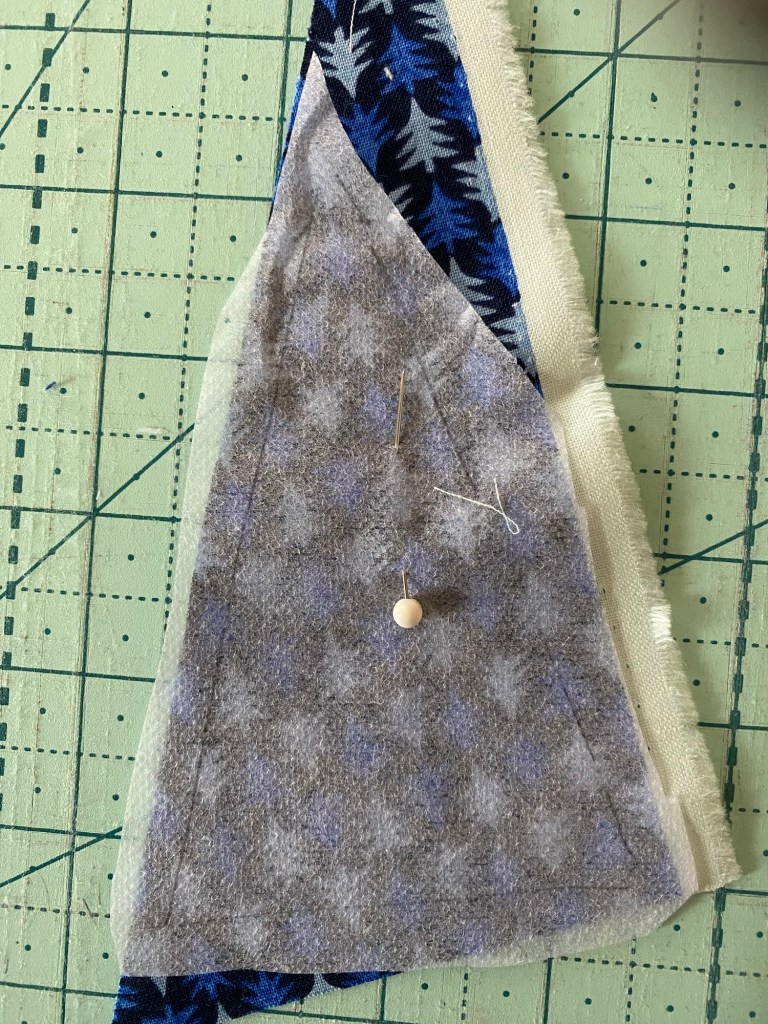
Once they are turned tight side out, iron.

Lay out your back piece and place the trees and mushrooms where you want and pin in place.

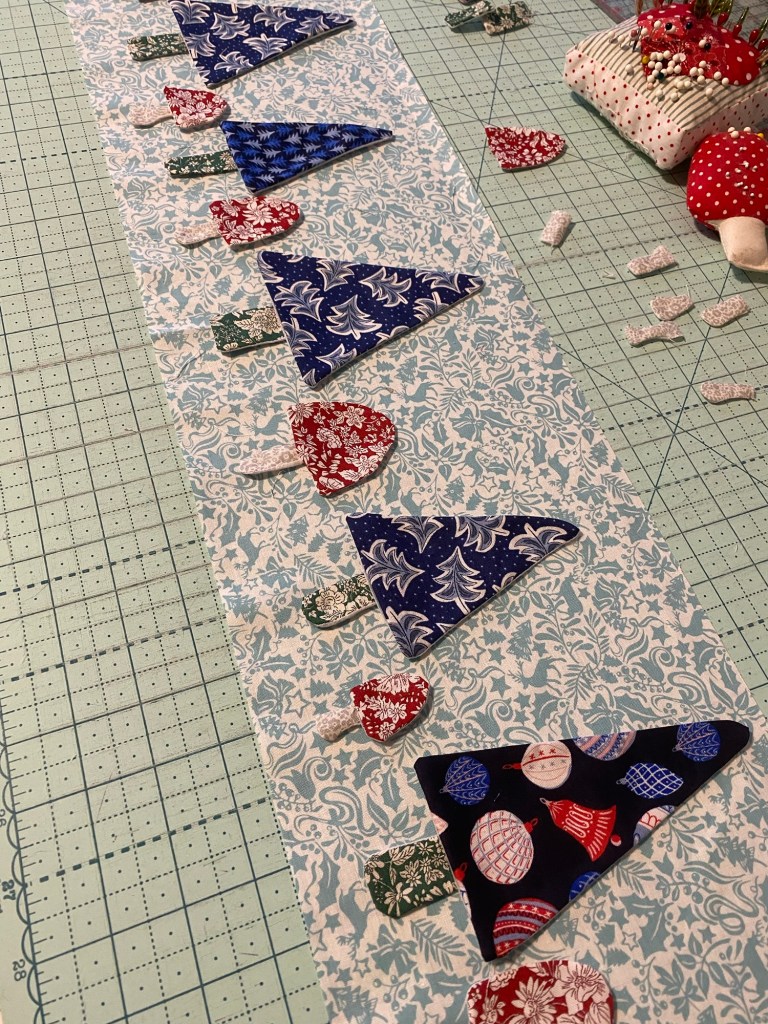
Sew them by machine or hand to the background. I like to use the blanket stitch in my machine.

Once you have sewn them all down, add a boarder and finish as desired.

For appliqué shapes I like to draw the shapes on card stock so I can keep the templates. Mushroom and trees are easy as there’s no set shape. I have videos on my YouTube channel on how to make & sew the appliqués and how I finish runners

Sew Fundy YouTube

Christmas · Liberty Of London Fabric · Quilt Block · Quilt Projects · Quilting / Sewing Tutorials

Winter Wonderland Quilt

I have been wanting to play with my winter Liberty prints for a long time, but I couldn’t come up with design I liked. While going through the Liberty website for inspiration, I found some patterns! Free ones! This quilt is three blocks, the tree is from one quilt, the star is one from another and the last block is.. scraps from making the stars!

Here are the links to the free downloadable patterns:

Tree: https://www.libertylondon.com/uk/features/craft/2020-festive-quilt-project.html

Use the templates & instructions for the simple tree block. You can add the house & other tree block too!

Star: https://www.libertylondon.com/uk/features/craft/merry-and-bright-liberty-quilt-project.html

Use the star block instructions. The pattern also has stars that are in a snowball that can also be used.

Scrap Snowflake Blocks:

Here is my YouTube video on how to sew scrap blocks when making flying geese for the stars:

I made 6 star blocks and used the scraps to make these fun snowflake blocks. Make 30 pinwheel blocks from your star scraps. Trim to 3 inches. To make the block, sew a patchwork of 5 pinwheels and (4) 3 inch squares of a background print per block.

All blocks I added a 2 inch boarder around and ended up trimming to 8 inches. It would be 9 or 8.5 but I mess one one up and just went with 8 inch

I made 42 blocks all together. The layout can be any combo of the blocks as it’s a snowy forest kinda look, feel free to add in other 8 inch blocks.. it’s your quilt, have fun!

I used 3.5 inch strips for the outer boarder.

Happy Sewing!

Quilt Block · Quilting / Sewing Tutorials · Sewing Projects

Scrappy Appliqué Block

How to make a fun 10 inch patchwork block

You will need:

6.5 inch square for the centre

16. 2.5 inch squares for the sides

An appliqué of your choice for the centre

First using your favourite appliqué method, sew the appliqué to the center of the 6.5 inch square. You can also do an embroidery.

Place the 2.5 blocks around the 6.5 inch square so there are three along each side and one at each corner

Sew the sections laid out in the above picture
Sew the side strips to the centre block. Then sew the top & bottom strips

The blocks done! Use it as a quilt block, pot holder, make several and put together as a runner or quilt.

Happy sewing! Vall

Pillow Patterns · Quilting / Sewing Tutorials

Regent Street Block

Its been a crazy summer as usual here, being on a major tourist route makes summer time fly by. I love meeting visitors from all over the globe, it makes it all worth it.

As my shop is so small, I have been thinking of ways to showcase new fabric collections, it has to be small as doing full quilts are hard to show off and June – Sept its very hard to even get a full quilt made. The solutions is pillows! I have been playing with fun blocks that use squares and strips, blocks that showcase the prints and can be beginner friendly. I have free pattern cards at the shop or you can use the post here to make the pillow or make several and make a quilt!

This pillow is made with the Woodland Walk Collection by Liberty Of London

Regent Street Block

18 inch Square

By Sew Fundy

A: (1) 2.5 inch square, (4) 2.5 x 16.5 inch

B: (4) 2.5 inch square

C: (16) 2.5 inch square

D: (4) 2.5 x 6.5 inch

E: (2) 2.5 x 10.5 inch

F: (2) 2.5 x 10.5 inch

To Sew:

Make the 9 patch in the center:

Sew together 2 sets of CBC and 1 set BAB.

Sew to form the 9 patch center.  

Sew 2 sets of CDC

Sew 2 D strips to the side of the 9 patch.

Sew the two CDC strips to the top & Bottom

Sew 2 sets of CEC

Sew 2 F strips to the side of the 9 patch.

Sew the two CEC strips to the top & Bottom

Sew 2 sets of CAC

Sew 2 A strips to the side of the 9 patch.

Sew the two CAC strips to the top & Bottom

Get creative and use more or less then 6 prints

Have fun sewing! Vall

Cath Kidston · Sewing Projects · Table Runners

Fun Christmas Runner

I am a HUGE Cath Kidston fan, of the older style.. and when I saw these remnants from the textile factory in Portugal, I had to get them. They were small but also impossible to find any of these prints.

The useable portion was about 7 inch x 13 inch. When I opened the package these two prints (of course I had to buy others that they had!) were beside each other and screamed.. “Use me together!”

Blue polka dots and vintage ornaments.. Perfect for my holiday decorating, its all blue & silver, these will fit right in! So to figure out what to do with them.. Patchwork of course!

I figured 3 inch squares would make the most out of the material. I got 9 squares from a remnant, so I cut up two of them. I didn’t want to make it too big incase it didn’t turnout as my head figured it would. I cut 18 3 inch squares of the blue dots to match

Once laid out.. I was in love… soooooooo in love! Time to sew!

Soooo pretty! Onto press well and cut the backing

Once cut to size and trimmed, I sewed all around leaving a turning gap. I hate binding and will avoid it at all costs! There is also no batting .. I don’t like batting in my tableware if possible (pot holder aside) I find batting makes it look to “crafty”.

Time to turn it right side out and press again. I top stitched all the seam lines with simple stitch in the ditch and a 1/8 top stitch around the whole runner. It is honestly one of my favorite holiday textiles now.. loooove!

Other fun stuff lately.. a bunch of us went to see the Glenn Miller Orchestra in Moncton at the Capital Theatre. Amazing venue for it. The band is a continuation of the original and were absolutely amazing! If you are into swing, they are a must see!

Fun time had by all!

Till the next time, keep smiling.. and make things! Vall

Gardening · Quilting / Sewing Tutorials · Uncategorized

Well It’s October…..

What happened between the last post and now.. summer tourism! I was not expecting it to be as crazy busy this year as it ended up being, but its all good. Now back to being able to sew things that are not urgent! I will catch up on a few things but for now here is a quick fun block I love to make.

The one I am currently making is made up of a 4 inch center square, (4) 2×4 inch sides and (4) 2 inch corner squares in off white. The finished block is 7 inches.

Material used is 10 Fat Quarters of Hidden Cottage by Minki Kim, you will have extras left over for something else. I used Confetti Cotton in Off White, I am working from a yard cut I have, so facture in a yard.

Side Note: I also like to make theses with 3.5 inch centers, 1.5 x 3.5 sides & 1.5 inch corner squares. I may do a post on the other quilt I have on the go using this size.

I try to make them scrappy, I cut (30) 4 inch centers, 3 from each fat quarter. Then cut all the side pieces.

From the off white I cut 2 inch strips, then sub cut into 2 inch blocks.

I like to lay out all the inner squares, put sides on top then the 4 2 inch squares each block requires. They are then ready to sew.

I like to stack mine on a vintage plate, you can use anything, I just really like vintage china and try to use them in weird ways. Sew together & iron.

Lay them out somewhere and play around until you like how it looks. This quilt will be 5 block across, 6 rows total. Stack them how ever your brain likes to do that and sew into rows using 2 inch x 7 inch strips in the off white in between the blocks.

I used 2.5 inch strips in the off white as my boarders on all sides, added on after this picture was taken. Cute & Quick .. now into the to be quilted pile it goes!

What else has been going on? SNOW! Too early.. I am not a winter person. The flowers are still blooming, they were not expecting snow either. I managed to get all the dahlias dug up and in before it hit. Here’s a few frosty flower pictures.. poor roses!

Scouse on the other hand was very happy to see the snow. She LOVES it..

Its Nov now .. I will get another post ready. Hopefully wont be as long in between as the summer ones here .. That was a crazy summer!

Sewing Projects

Spring Windows

Here is how to make the cheery window mobiles I have at the shop. They are simple and cute as heck!

First collect materials:

Shapes: Take easy shapes from colouring books, quilt books, online etc. Do not make them complicated but stick to hearts, birds, owls, simple bunny outlines etc. Get the picture to the size you want and cut out or make a template.

Fabric of your choosing

Interfacing such as foam, fleece or batting. If using batting double it up for better structure.

Trace the shape onto the foam/batting etc and cut out.

For the fabric: for simple shapes like hearts trace one side only and use a large enough scrap for the opposite side or fold it like shown here. For directional shapes like birds, trace two (one per side) by flipping the template before tracing. If need to add wings etc. do it before going on to the next step. Leave some room between the shapes

Line it all up as follows: Bottom fabric with traced shape good side up if directional like a bird or just a plain or folded piece as shown in the picture. Place fabric with traced shape good side down. Make sure traced shapes line up if they have extras like wings etc. Place foam in the traced lines. If the foam is fusible, you can iron set it onto one of the fabric traced shapes to make it easier. If not use a glue stick to stick it in place.

Sew around on the traced lines, leave a gap for turning, turn right side out, make it look pretty, iron and and stitch or close stitch by machine closed.

Use string to connect the shapes and hang from a small nail or tack from the window