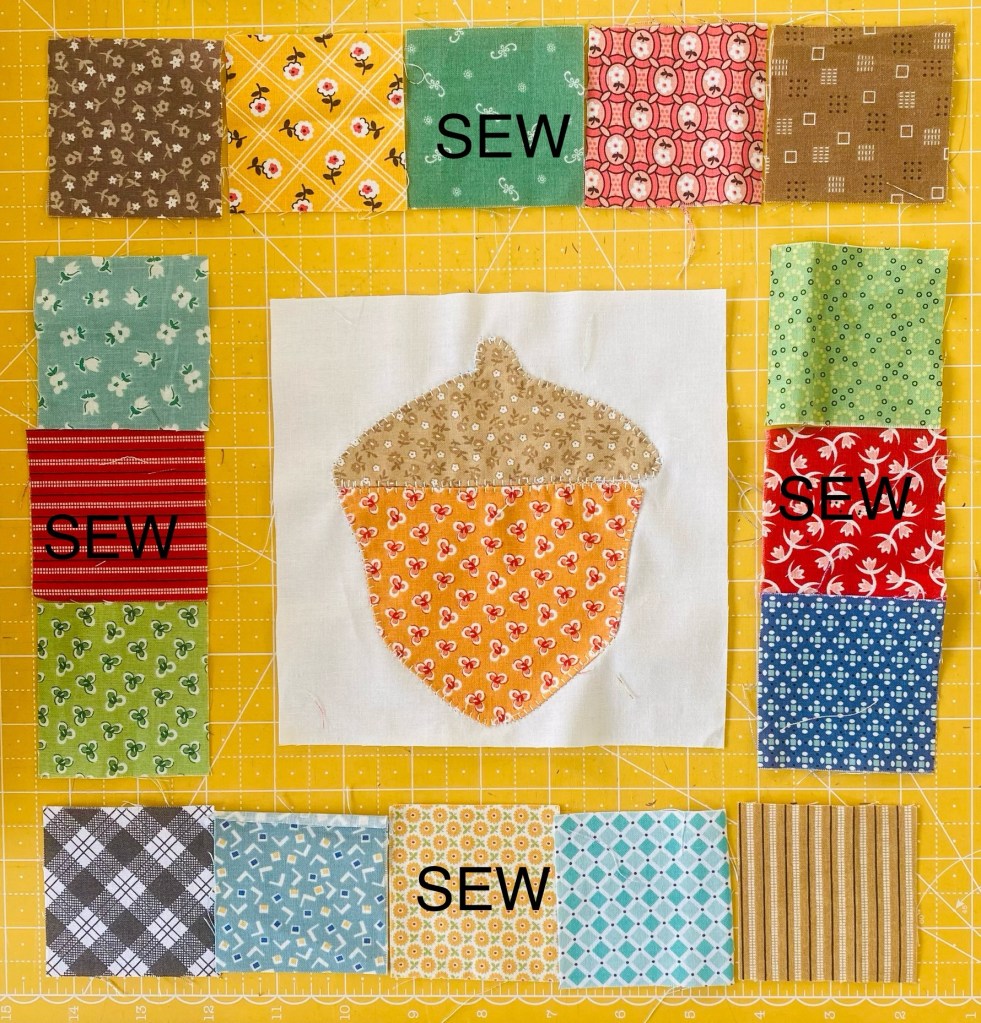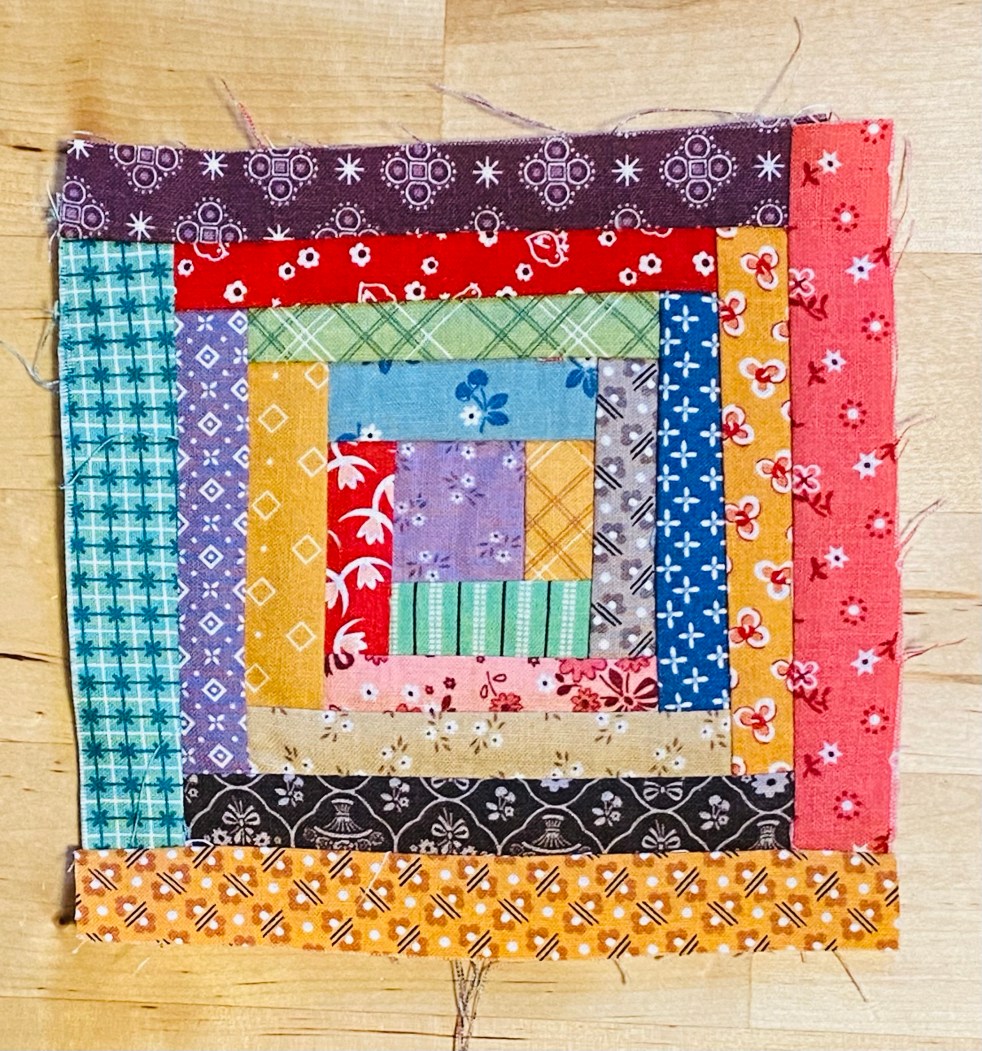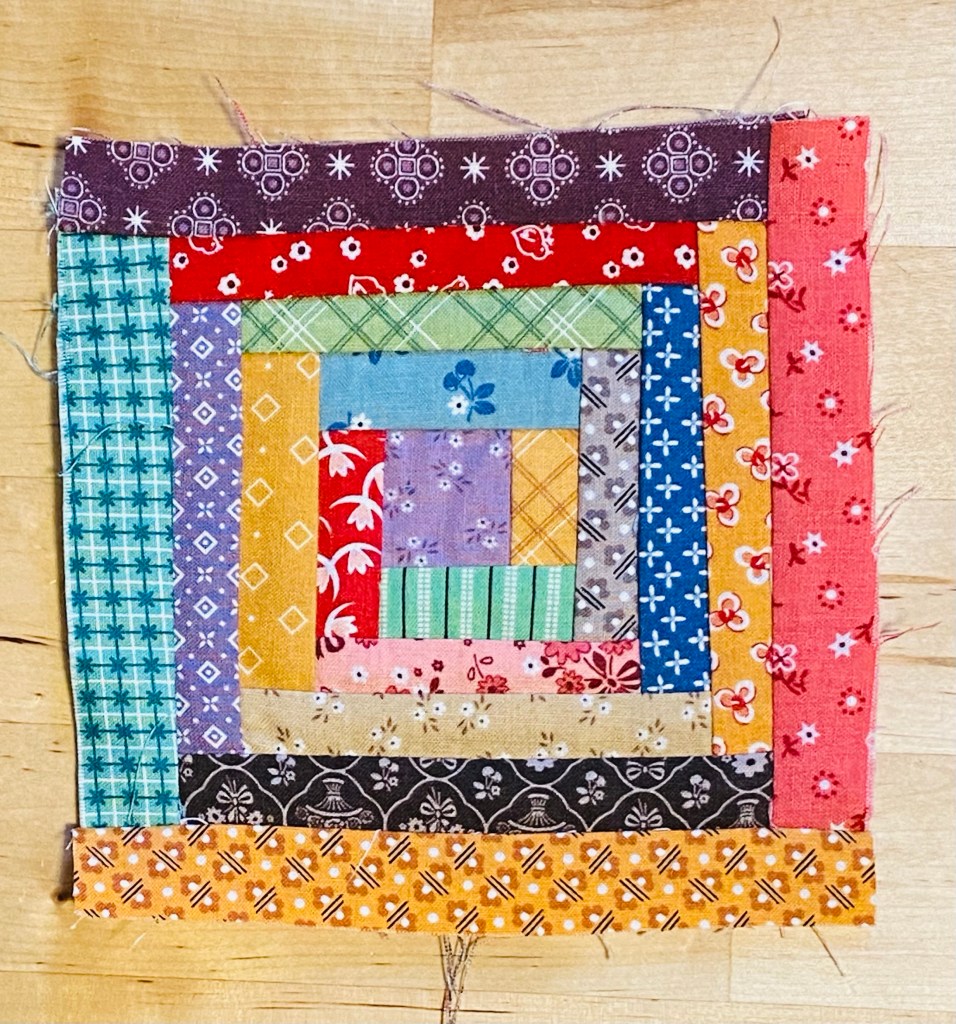

Log cabin blocks are very versatile and y to play with. They start with a centre and work around the centre with strips. You can start on the top, side or bottom, you can use the same width strips or strips of different widths. This one is a pretty standard.
Before you ask why the letters for the strips are not in order, the program I use sets the letters, not me..
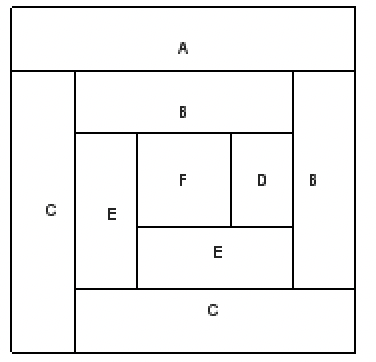
F: 3.5 inch square
D: 2.5 x 3.5 strip
E: 2.5 x 5.5 inch strip (need 2)
B: 2.5 x 7.5 inch strip (need 2)
C: 2.5 x 9.5 inch strip (need 2)
A: 2.5 x 11.5 inch strip
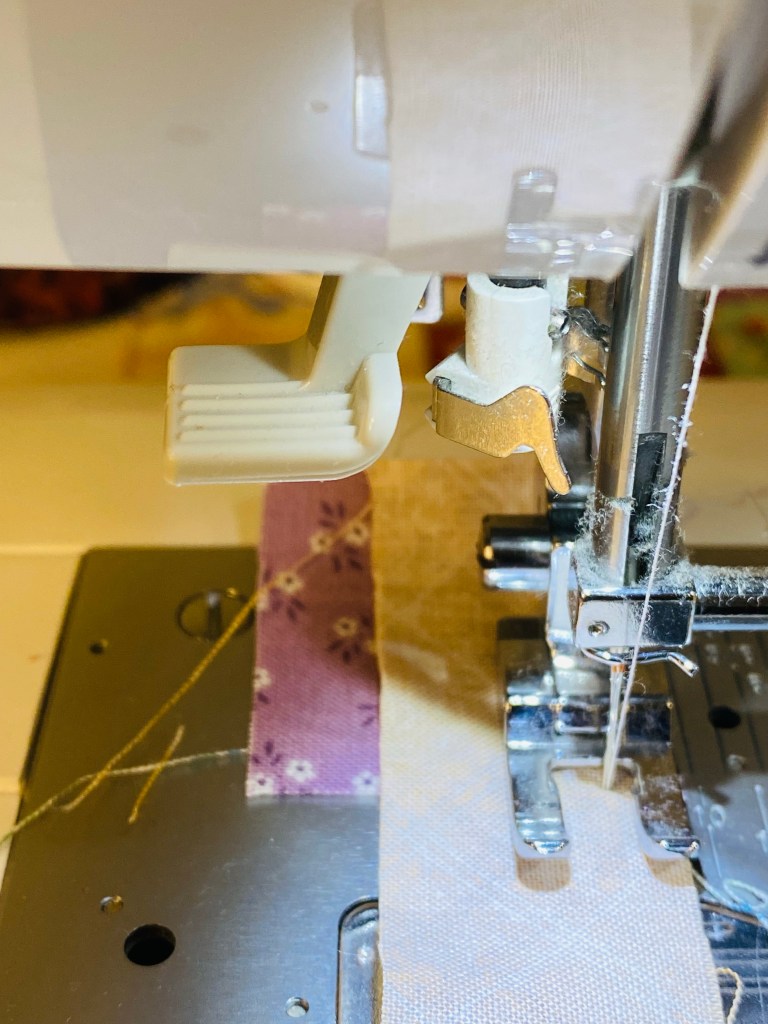
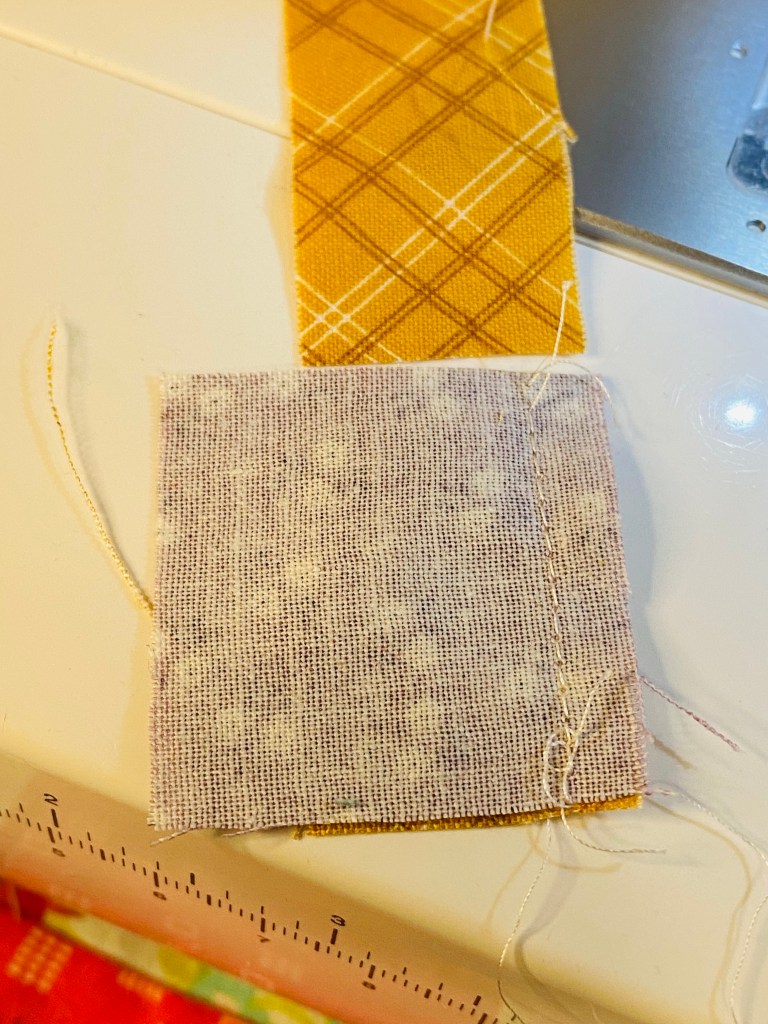
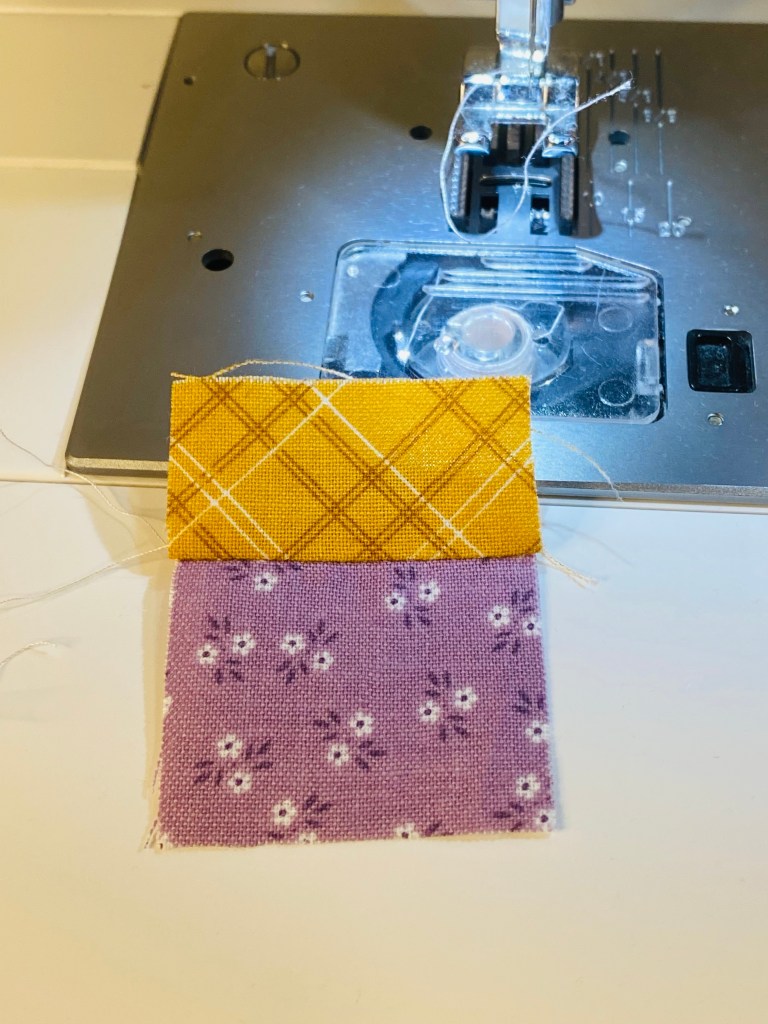
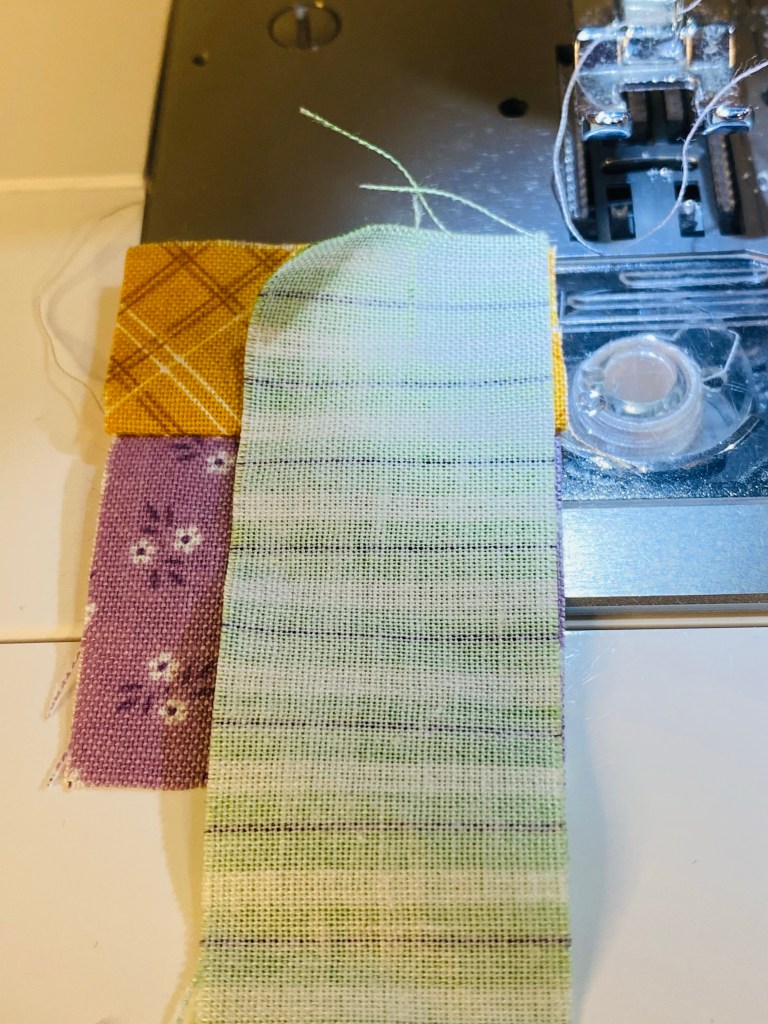
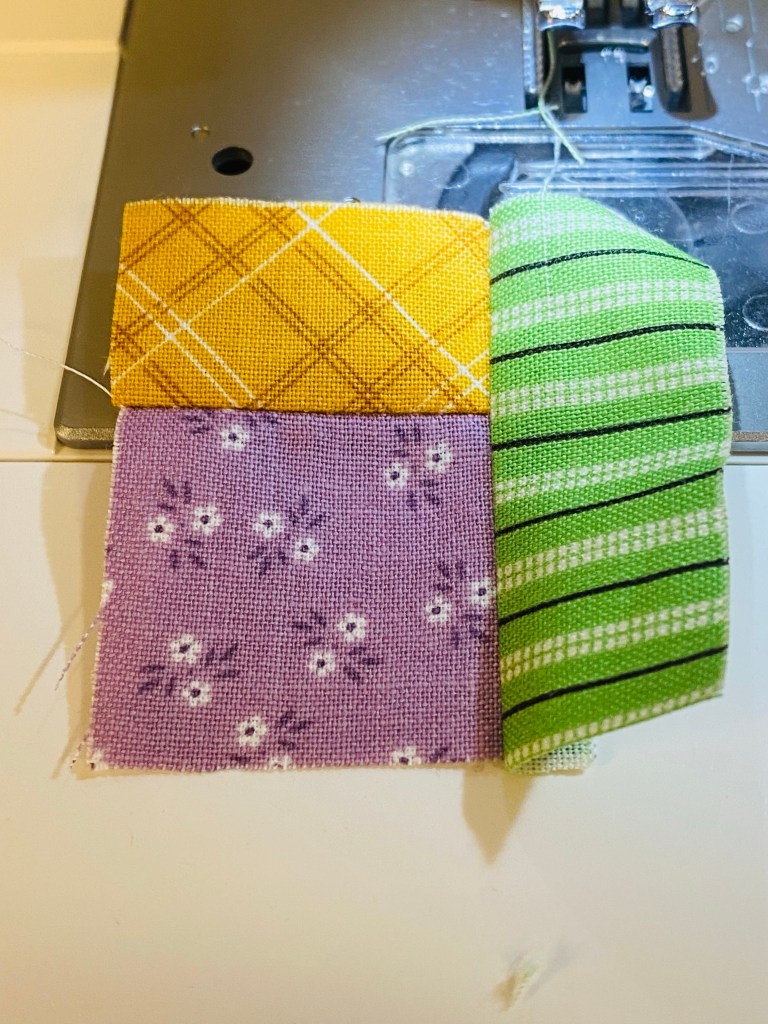
Sew D onto F
Sew E to the bottom
Sew E to the side
Sew B to the top
Sew B to the side
Sew C to the bottom
Sew C to the side
Sew A on the top
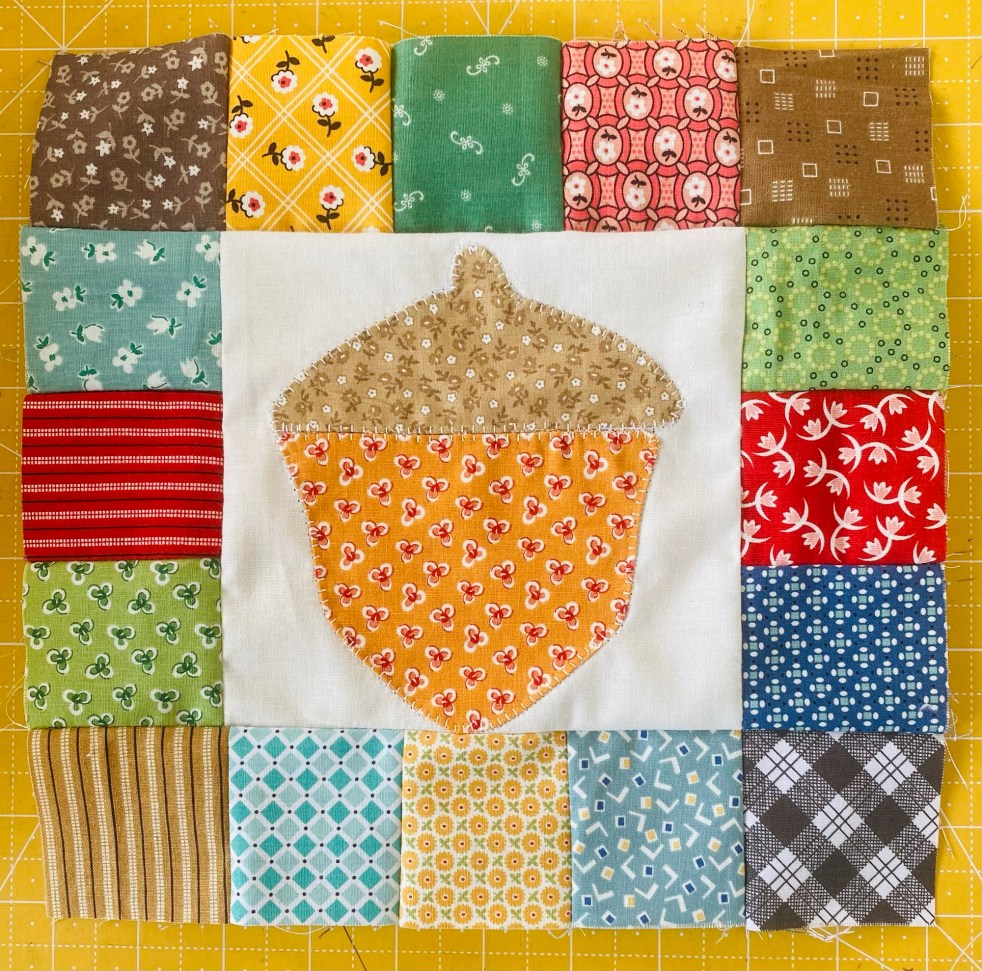
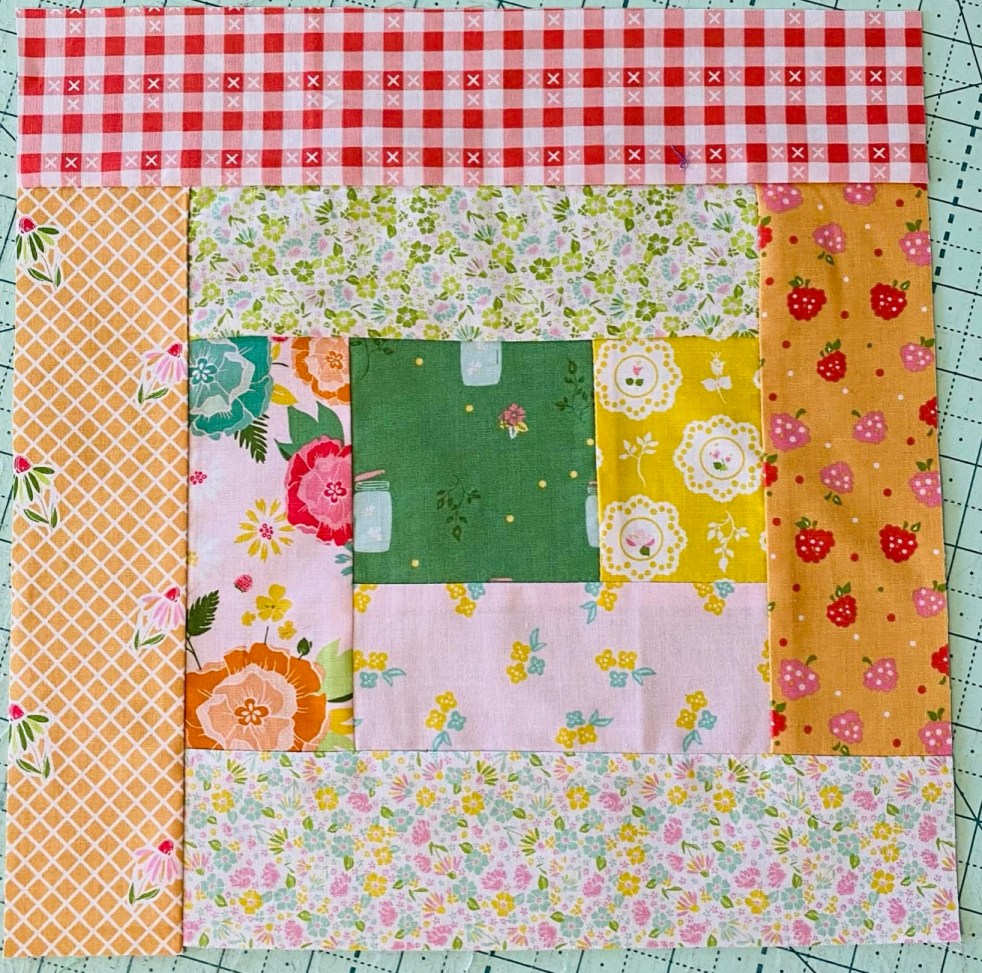
Finished.
You can keep going and make it bigger if you would like.
Make sure to iron after sewing each strip and use a 1/4 inch foot.
Have fun making these into quilts, pillows, pot holders etc.